Retari 3.0
In 2005 a friend and me build two cubes that housed an Atari 2600 Junior and a screen. The idea came up, while drinking in our favorit club “Rotari” in our hometown Offenbach. Throughout 2005 and 2006 we did a couple of evenings under the Retari brand – an almagation of Rotari, Retro and Atari. The parties were quite a success and I believe them to be the foundation for me to go on and build the Digital Retro Park. So it is quite fair to add piece of my own history to the Park.
After a half decent attempt to build a new Retari v2.0 that ended in frustration about not having enough time and power to pursuit the project, I wanted to do it right this time. When i found two old VGA CRTs where in the dumpster at work, I instantly knew what to do with them.
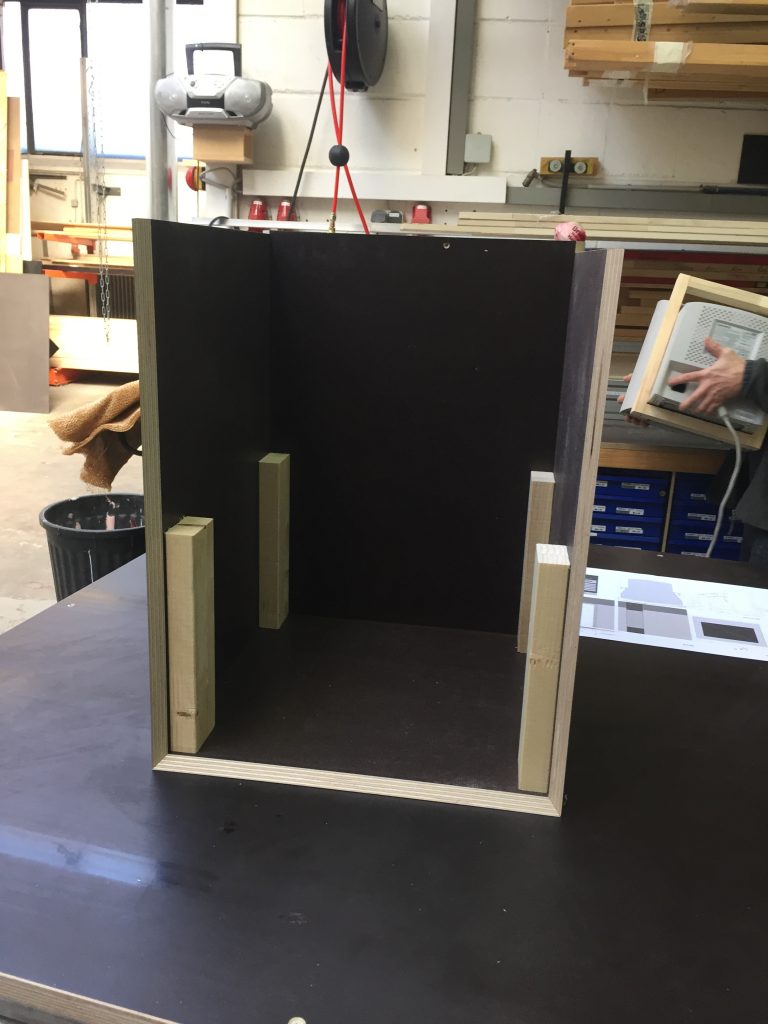
First I did sat down an designed the case using Illustrator. Than I went over to our carpentry and brought them some beer, along with my CAD plan. Memet was so nice and build the case. I housed a big that I got out of an old ATX PSU right at the bottom of the cube, to pull out all the hot air that the CRT might produce of the course of running a few hours. To prevent the case from scratching over the floor and assure aircirculation, I added rubber feet at the bottom.

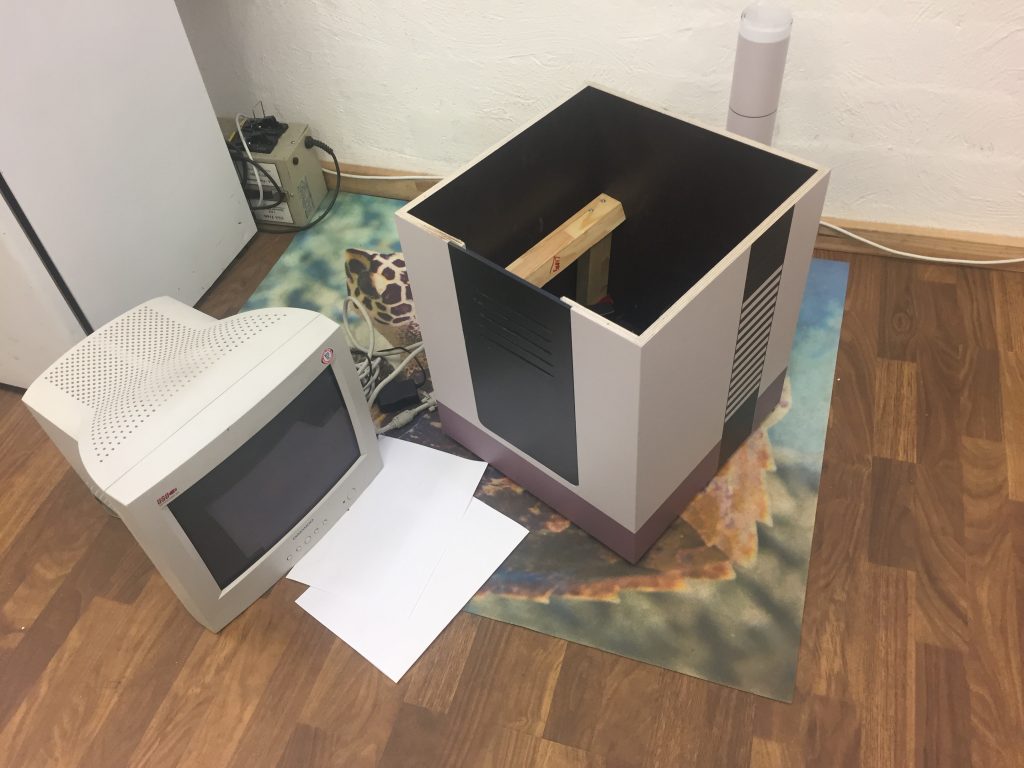
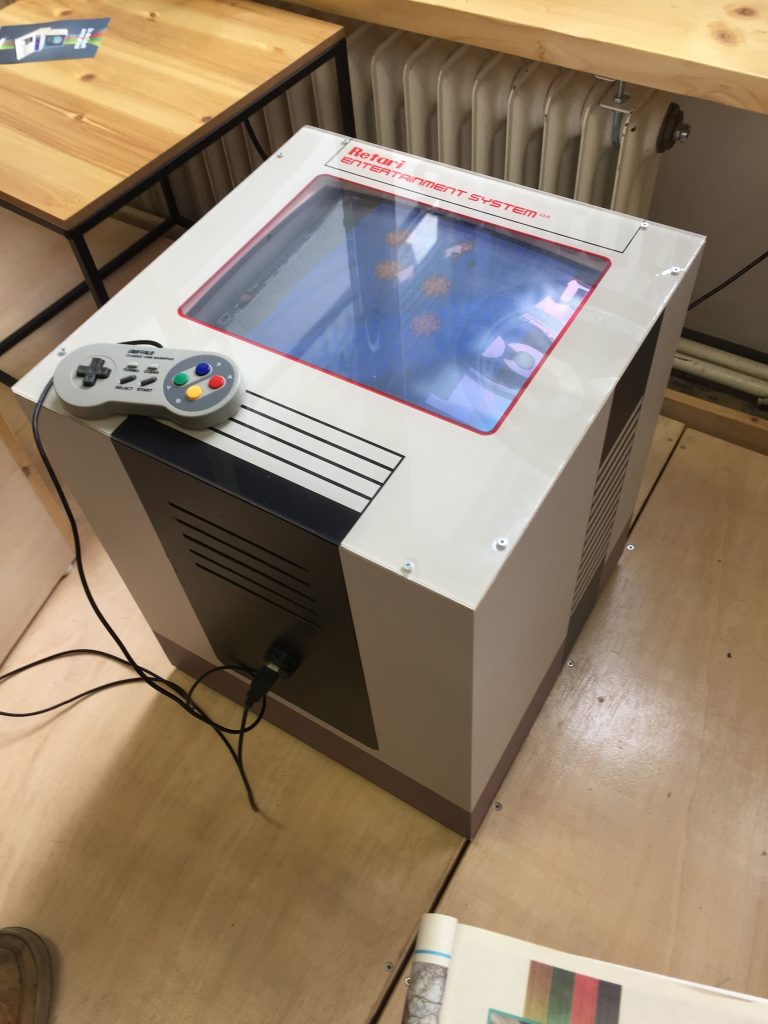
The basic idea was to have two of those Retaris: one in NES Design, the other in SEGA oder Atari VGS woodgrain finish. I choose to go with the NES, as most of the visitors might recognize it in the Park. Using the original NES as reference I tried to stay in the gray, black scheeme.
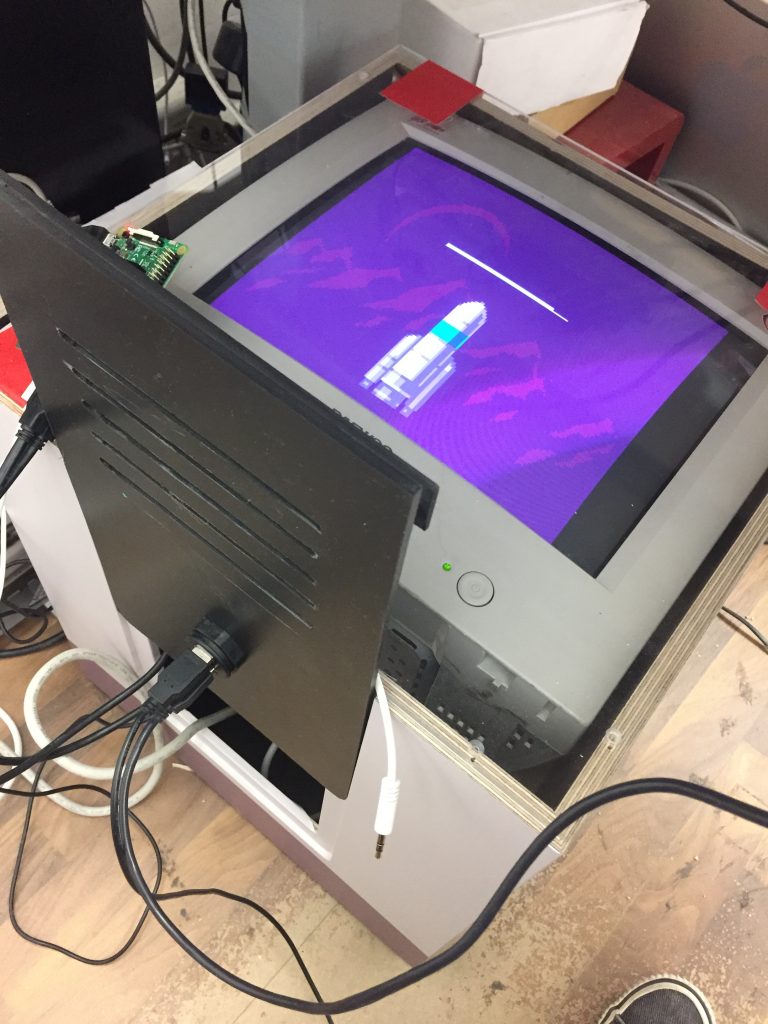
Inside a RaspberryPi 2, hooked up to a HDMI to VGA converter that has a separate 3,5 headpone jack breakout for the sound is running. One PC speaker that I grabbed once more from the dumpster is stuffed into the cube, right below the CRT. I tried both retropie and recalbox over the last couple of years and recalbox is by far the more easier to setup. In the latest build, you even have a web interphase that you can access from remote that provides almost full access to all settings, temperature monitoring and rom management – perfect for a closed system.
To prolong the USB cable, I used one of those car extensions that sport two USB ports and can be scewed in place.
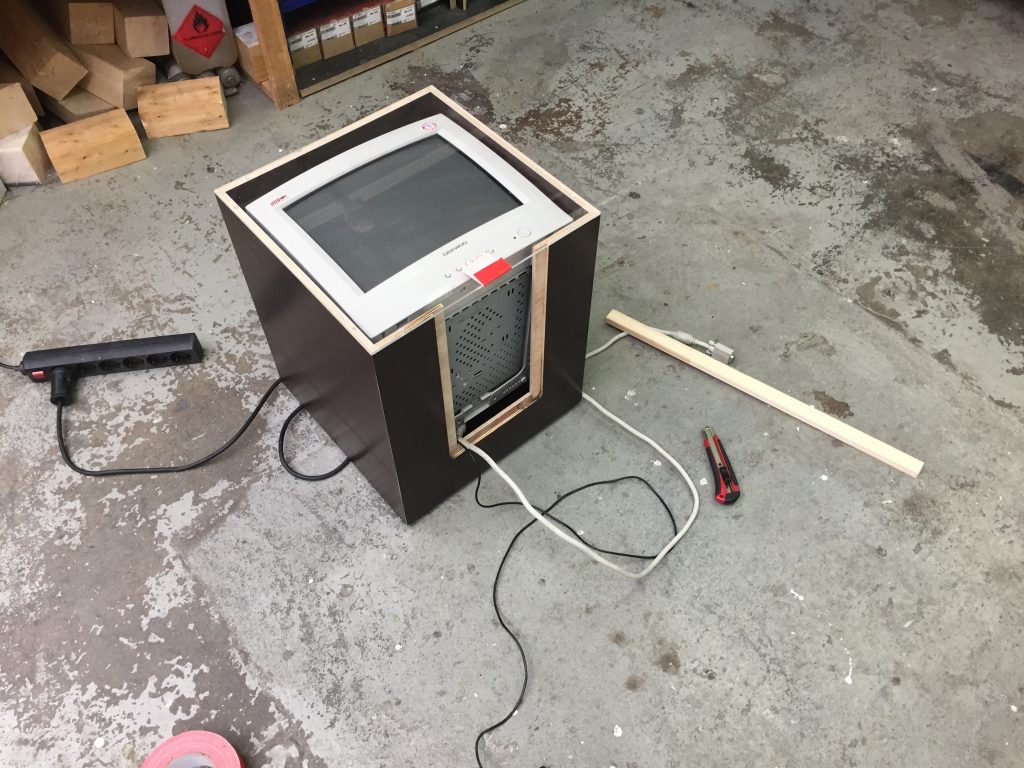
The frontplate is made out of forxboard and is hand cut. Once more there was the original idea to do it with a CNC, but it is fine for now. The panel has a lip and can be slit in from top, when the bezel is unscrewed. My initial idea to mount the RasPi on its inside was scrapped because of to little space between the Pi and the bottom of the screen. Most important part about the panel are the ventilation slots that help the ventilation for the innards.
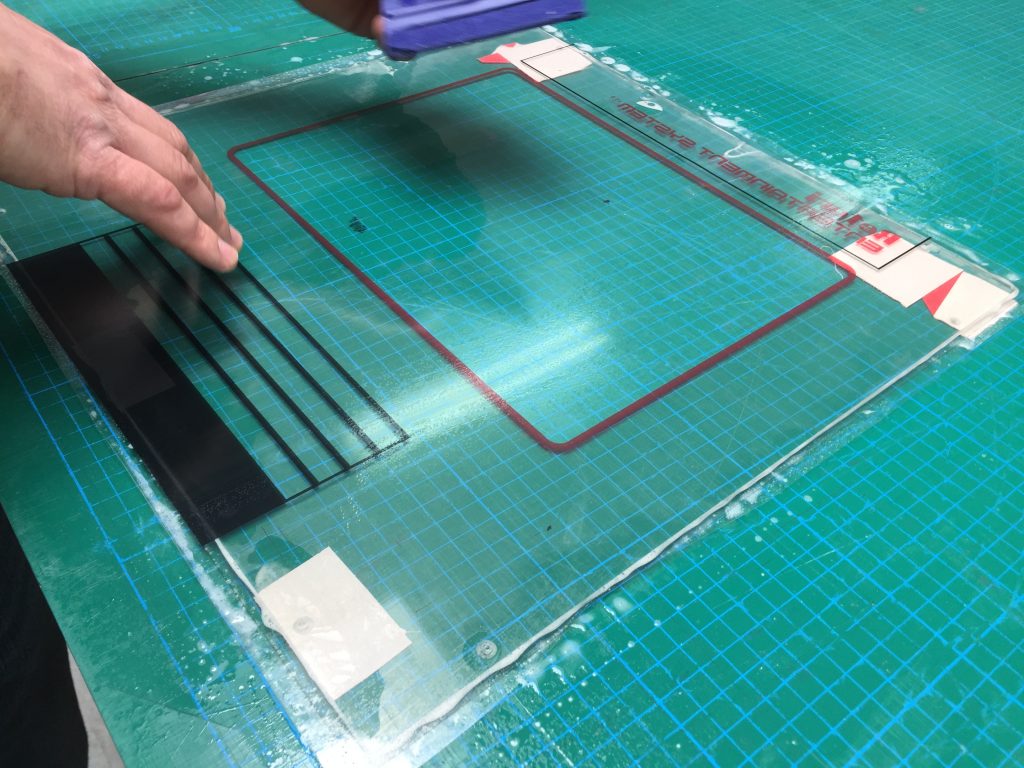
The bezel is made out of 5mm plexi glass with graphics applied from the inside.
So far the Retari does not have a Switch and has a fixed non-detachable power cord. I felt that I could add a switch and socket later. To turn it off, you just pull the plug (and if you are a gentle person, you might tell recalbox to power down previously). Let’s see how long the recalbox image will stand this procedure.
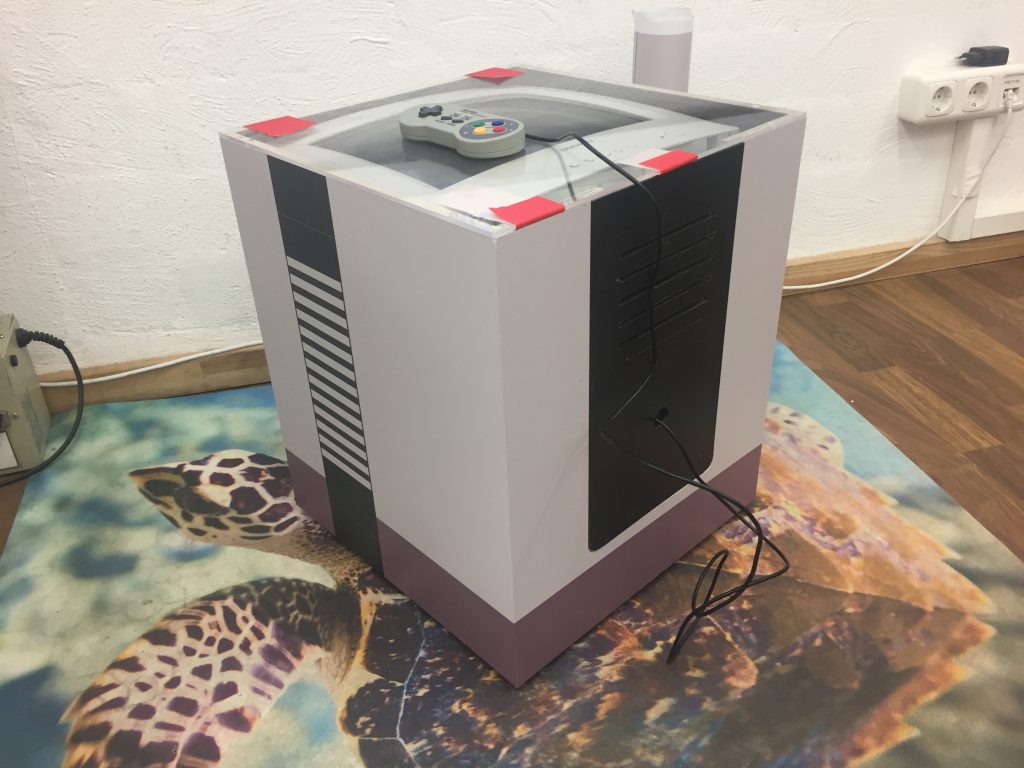
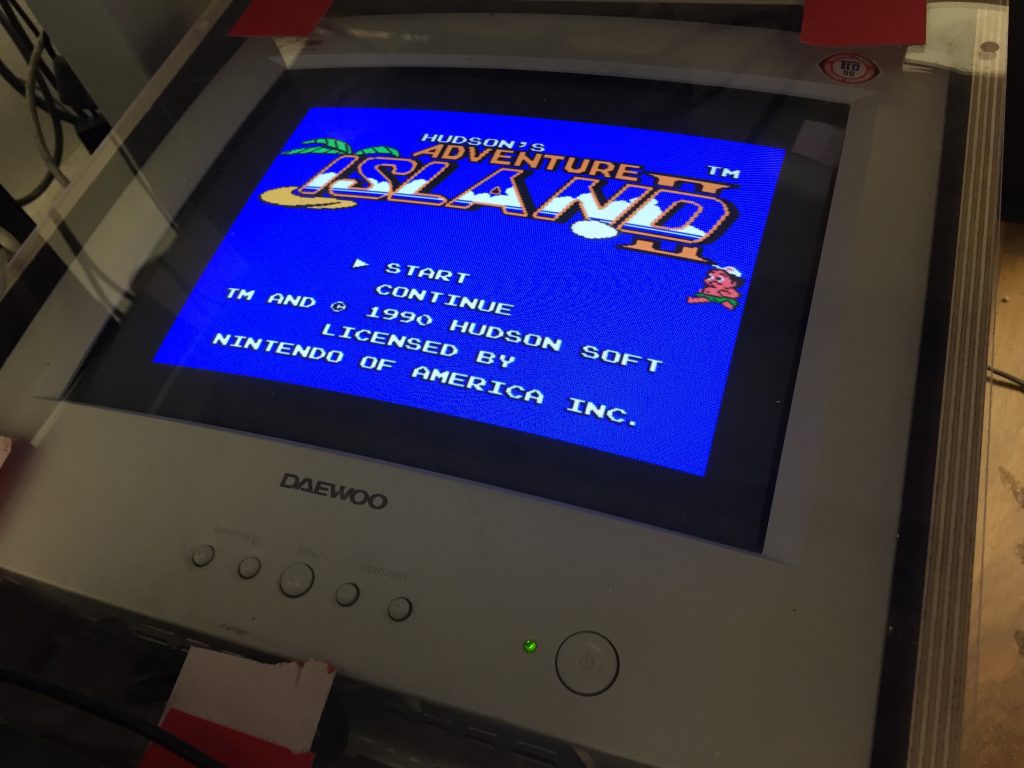
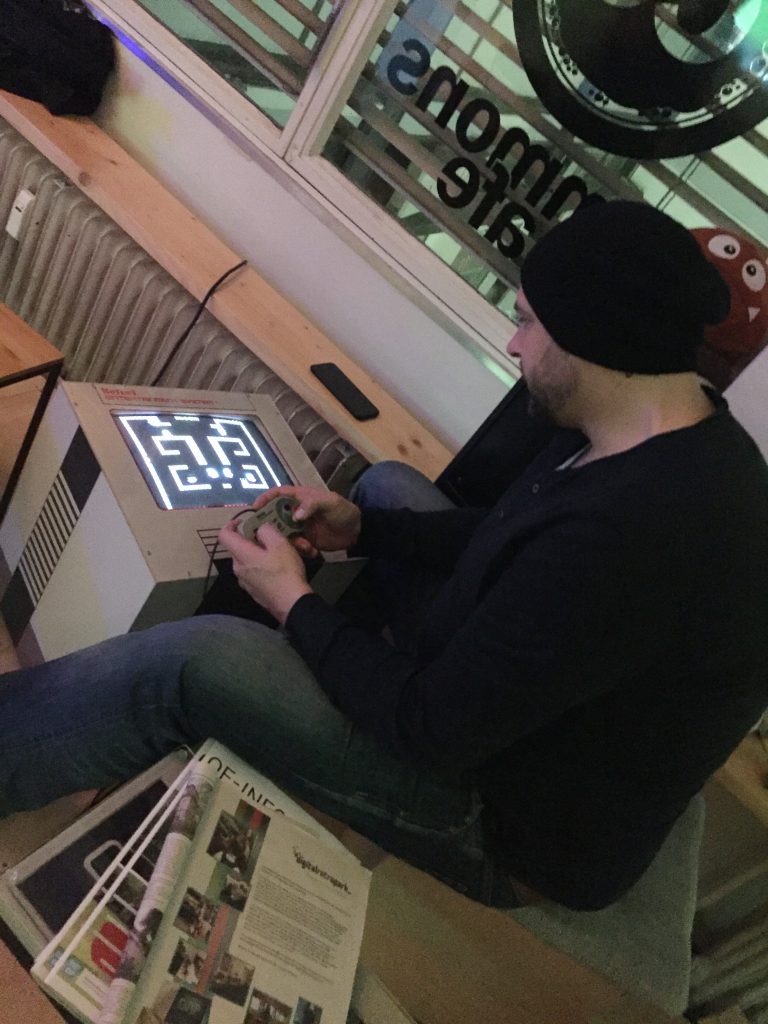
Here it is, in action at the Commons Cafe @ Digital Retro Park, still with only one SNES controller. I will order two NES USB controllers… promissed.