digging for fake gold – part 1: keyboard
One of the holy grails of Commodore collectables is a golden C64. Back 1986, when the sales of the C64 skyrocked and passed the one million mark Commodore produced a special version: a gold painted C64, mounted on an acrylic plate that showed some PCBs (rumor has it, that it is from the than new Amiga Sidecar) and a plaque that stated “Goldene Edition
aus Anlaß des 1.000.000sten C64 in Deutschland 5. Dezember 1986” (Gold edition on behalf of the 1.000.000st C64 in Germany …). There are about 150-200 of them made and given away to reporters and business partners of Commodore, as well as people that visited the BMW Museum that day. Another rumor that I can hardly believe. Numbers vary and there are statements, that in the halls of Commodore Germany, there was even one on the wall that bared the No 1000. However, these golden C64s are very expensive, with prices constantly rising and they are completely out of bounds for me and my budget.
Planning a C64 exhibition, as it turned 35 this year, I want have one on display. It is part of the cult and a story that belongs to the German scene… it just has to be there. Talking to Tom, who has one and is – oh wonder – the guy who runs Forum64, the biggest forum in Europe, it became clear, that it will be hard to get one for the exhibition. Prices on eBay went up as far as 4.500€ and so owners become anxious and ask for security and insurances – another thing that I can’t afford right now.
Guess, I am not the first to come up with the idea of building a replica, as there are somehow golden versions making the round that are definitely having a newer mainboard and other keys and are obviously fake. After a long discussion with Tom, I think we both came to the point where our lines wehre drawn: He won’t help me with fotos/scans I would need to reproduce the acrylic plate and does not like the idea at all. He considers it as cheating, to build a replica and put it in an exhibition. My side is, that I can’t afford to spent so much money on the real thing, nor on security means to protect a real one.
To stay true and not get the whole scene against me, I am building this replica in very public way and show the process of making it plus – for the first time of this blog – won’t give out any files for reproduction, that I will create. I completely understand Tom’s fear, that the marked will be swamped by fakes and people will really be pissed when this happens. There is a good chance that I will not get a decent scan of picture of the plate, so perhaps this is all doomed to fail. But if you are not trying you’ll never know!
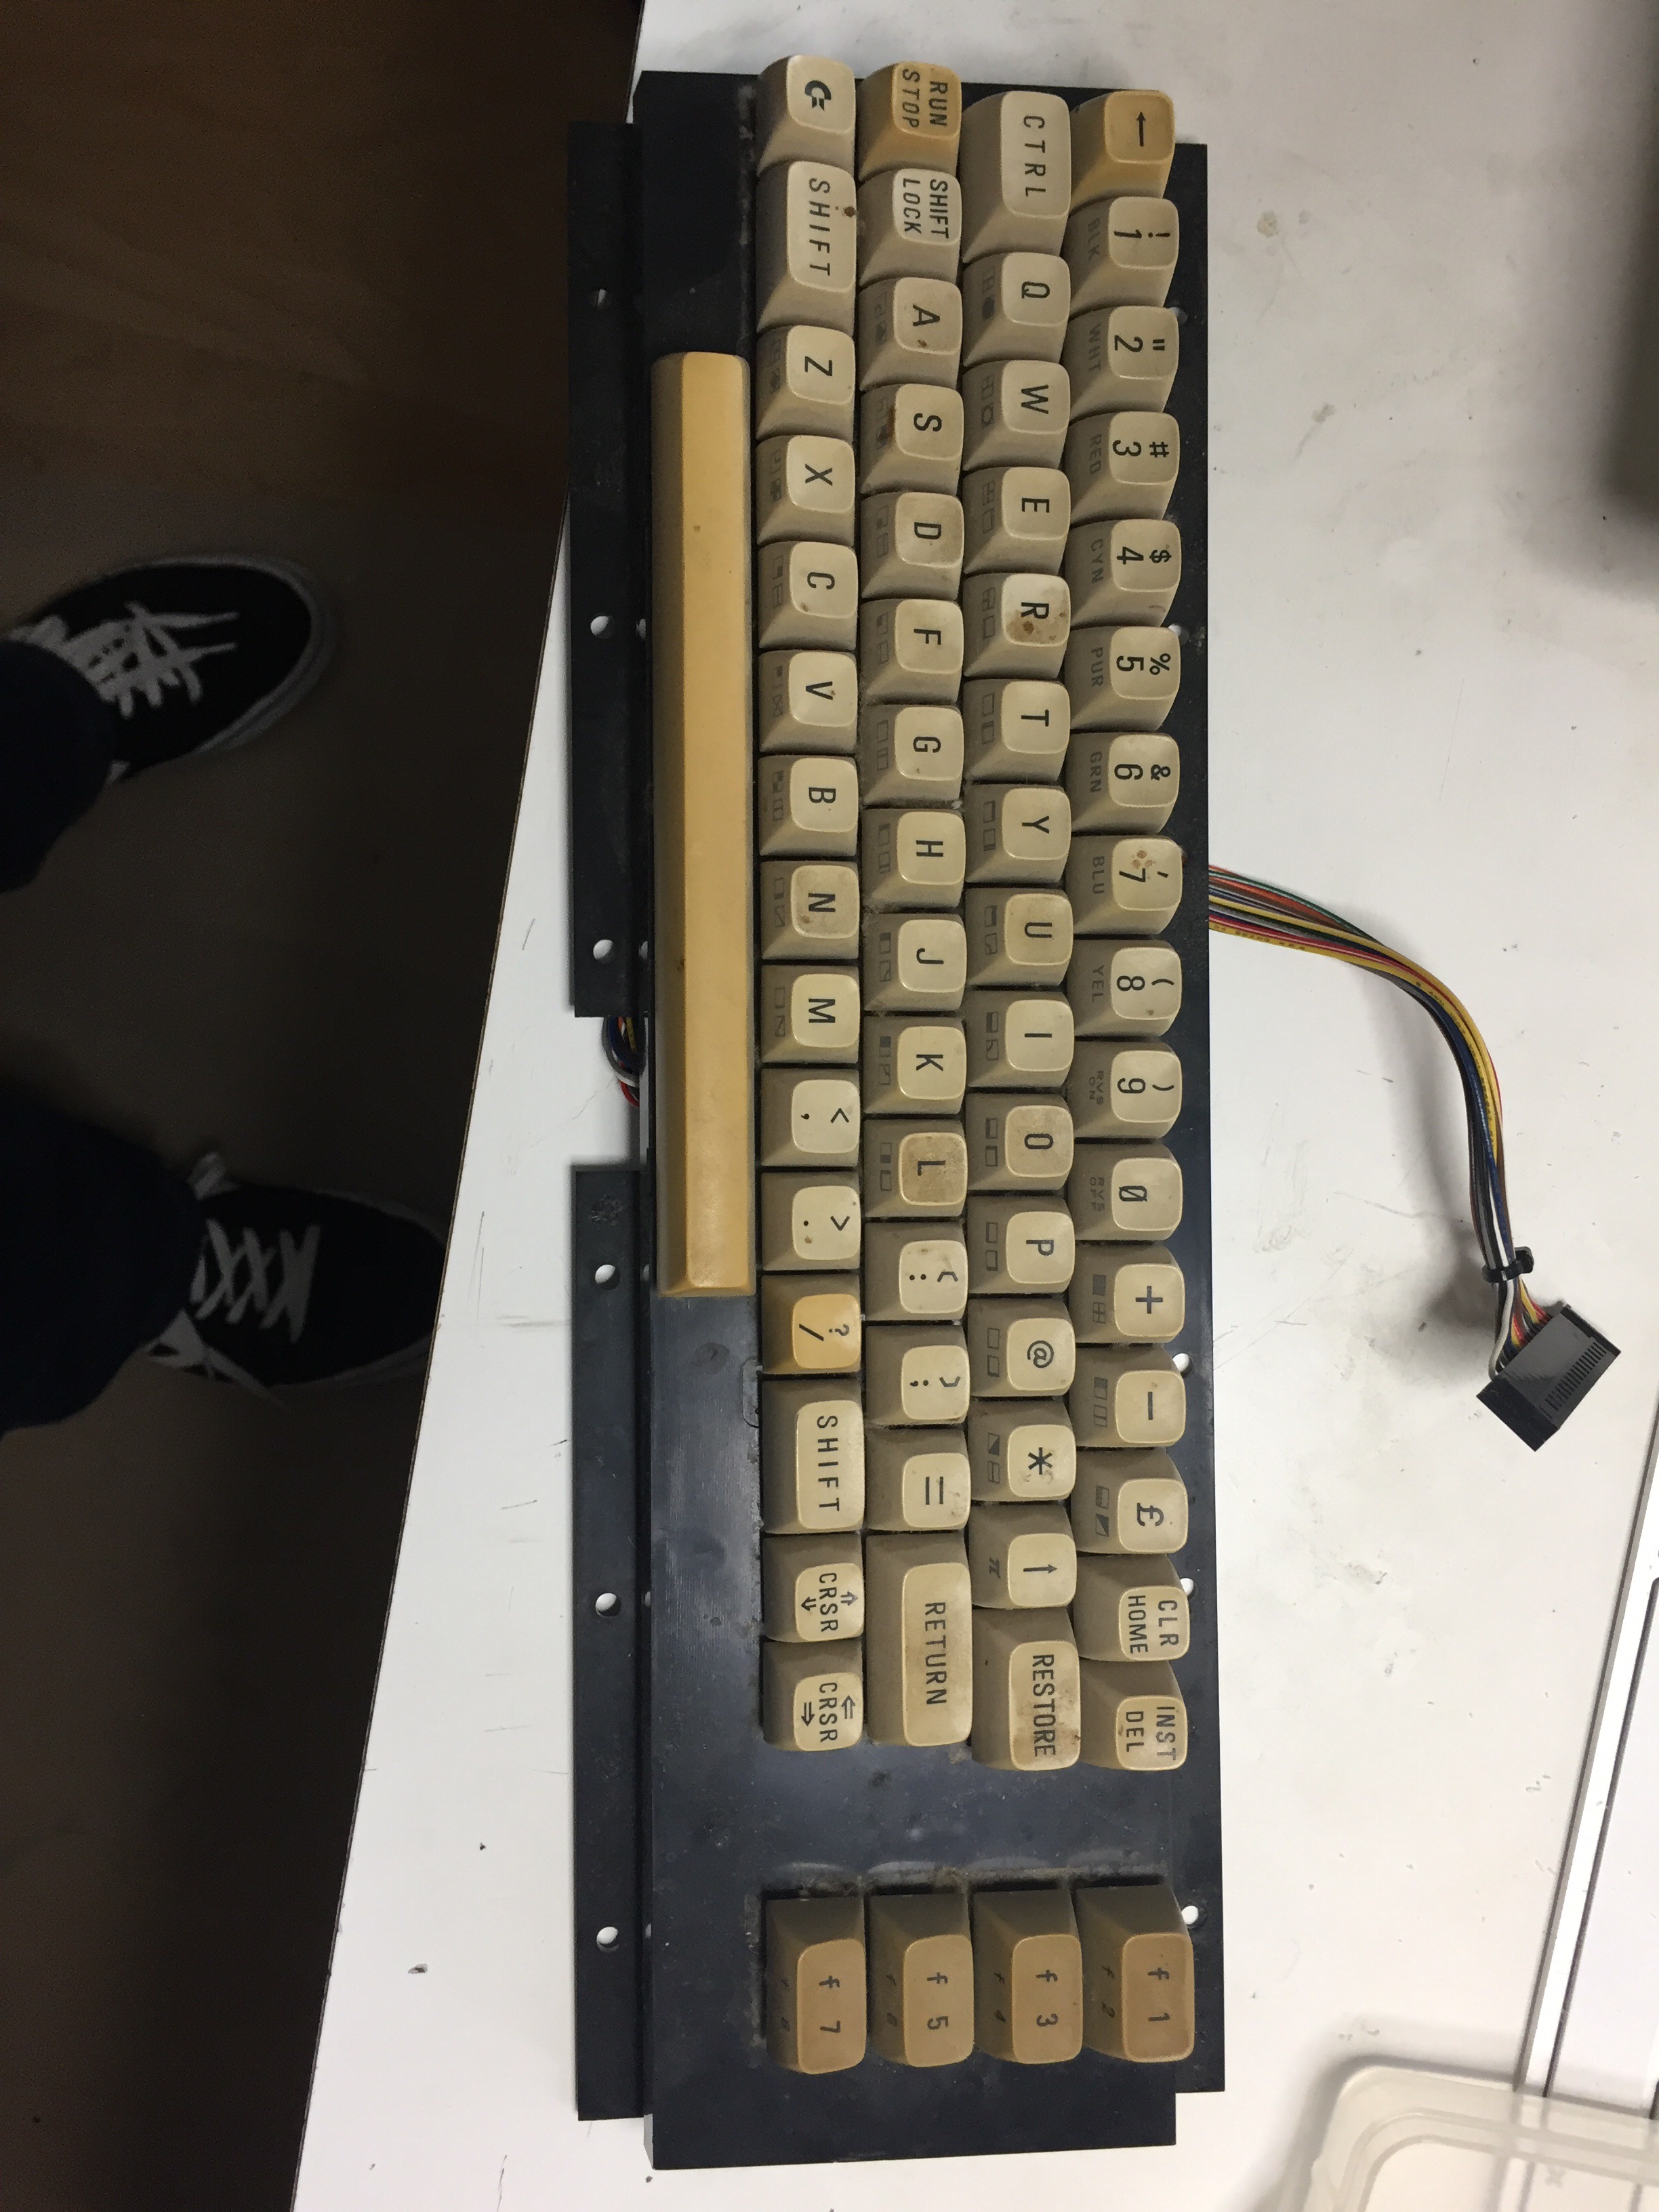
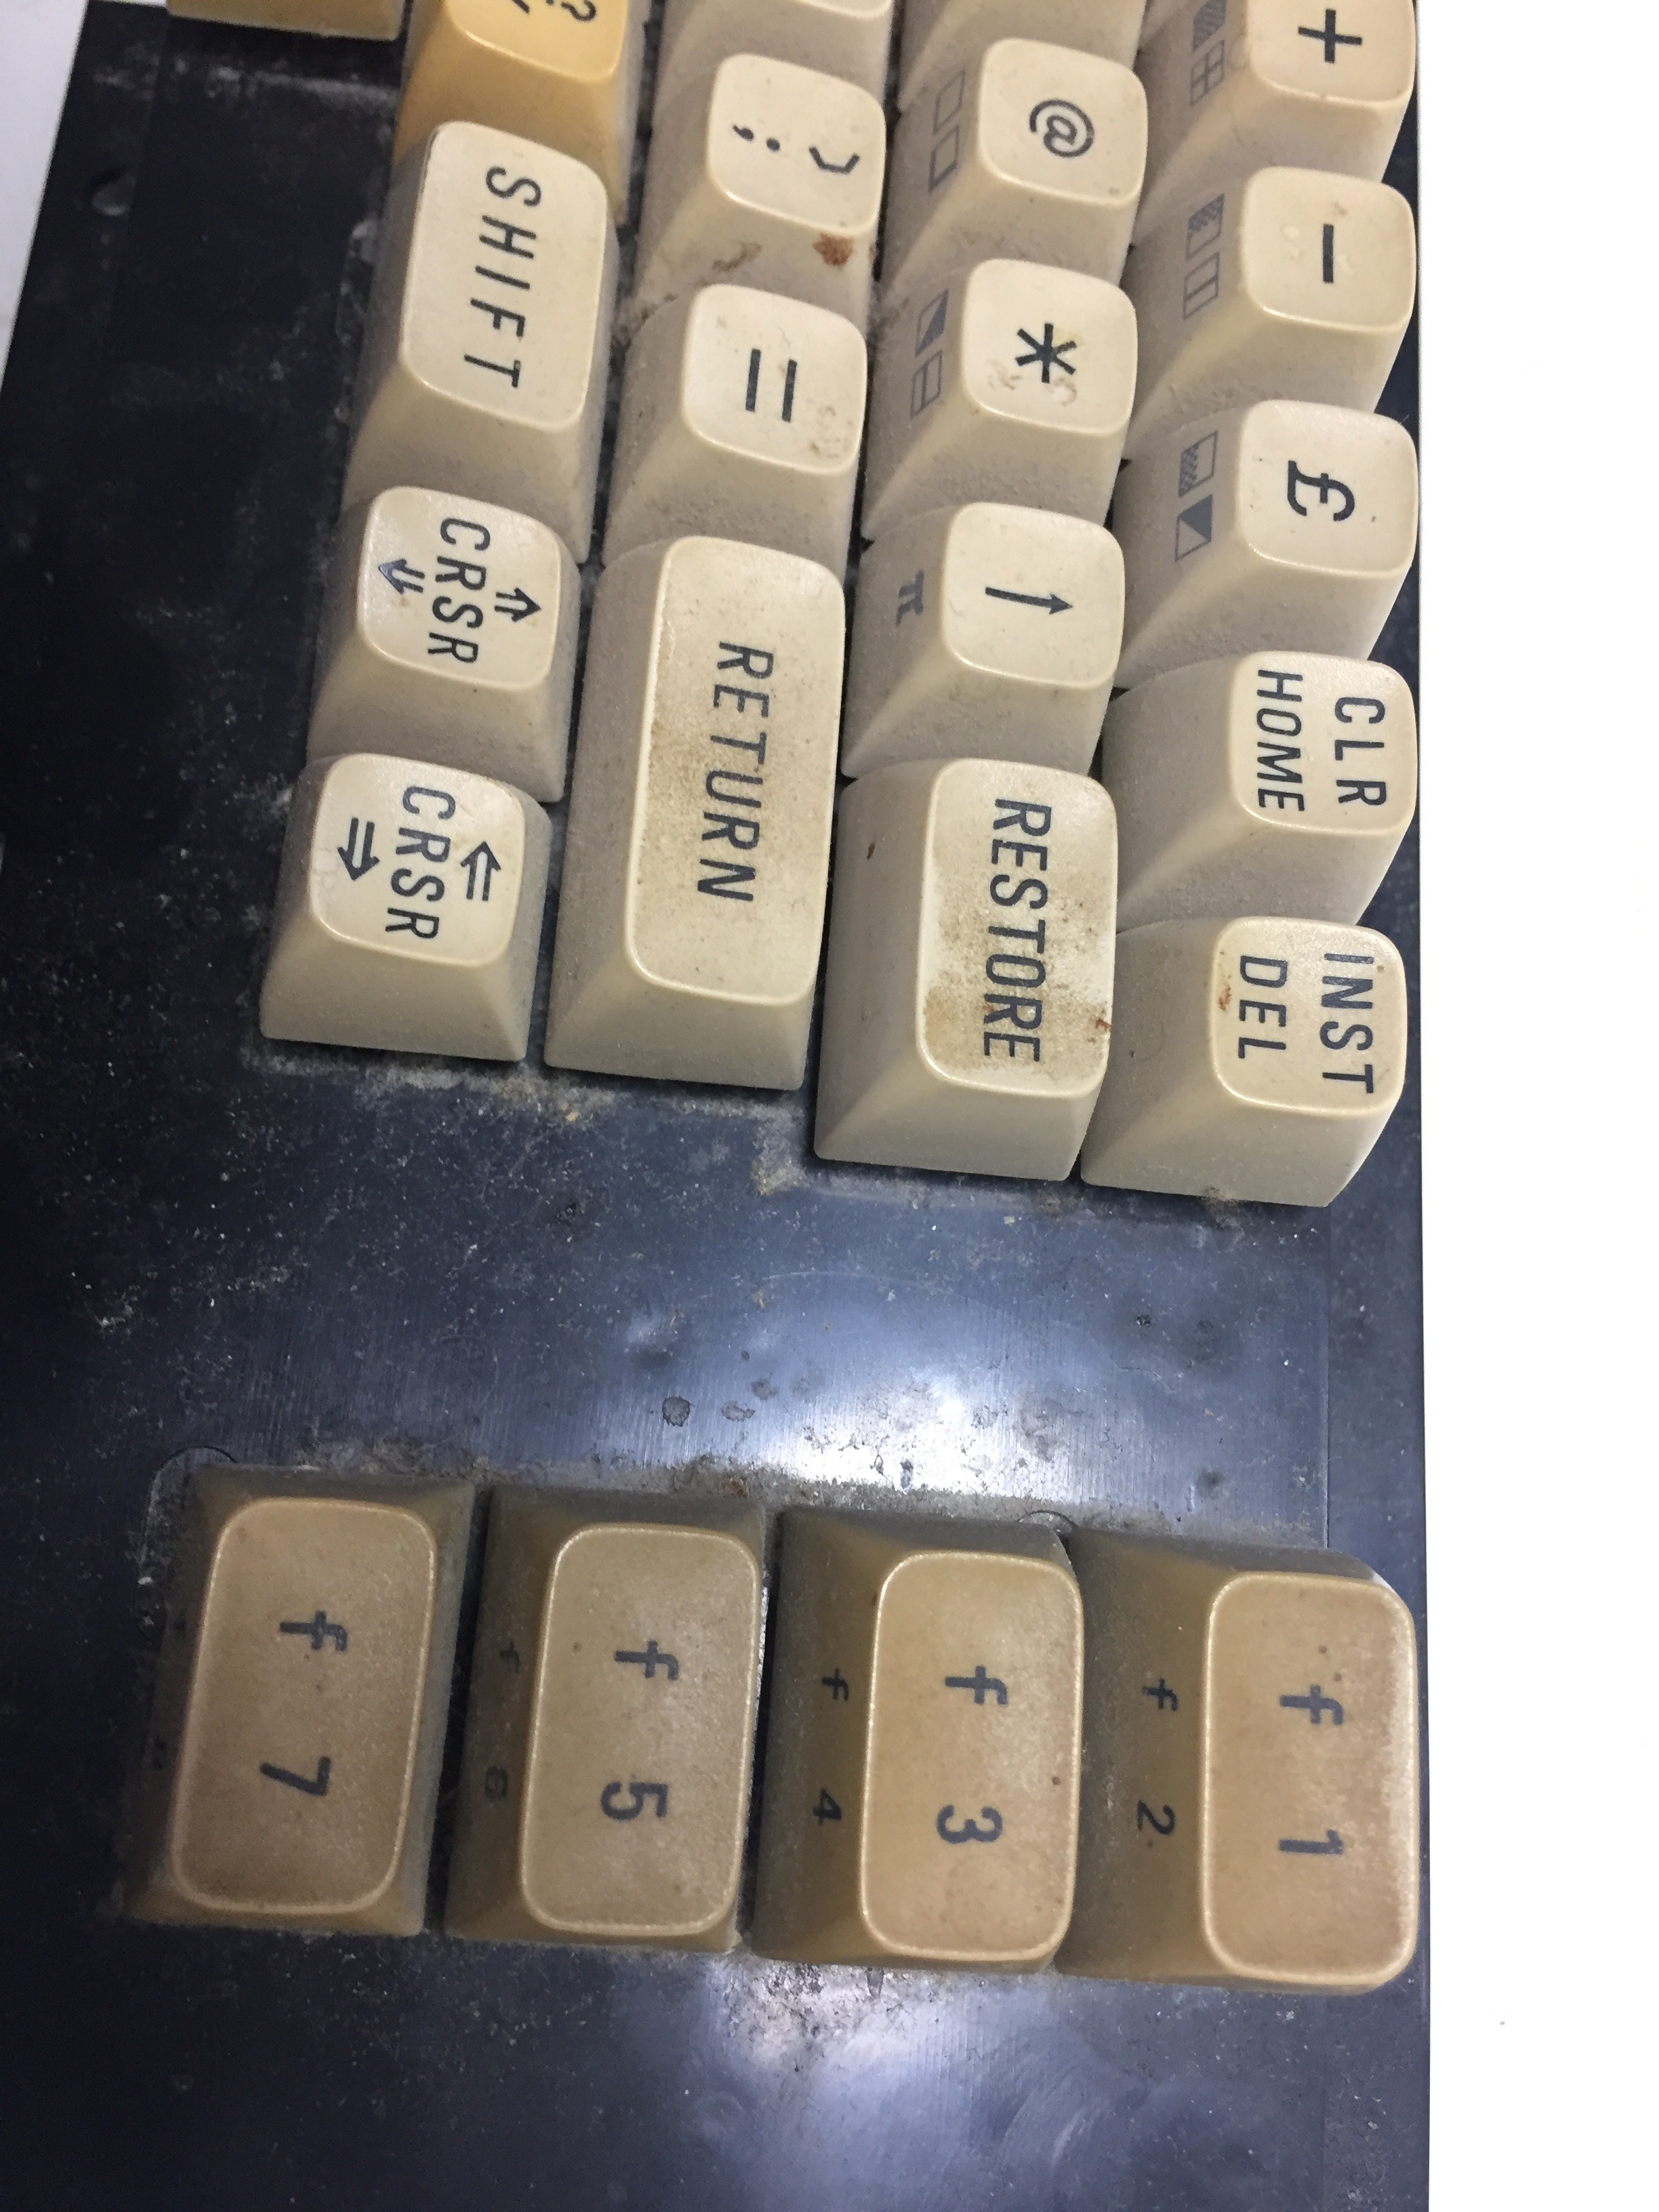
So let’s start with the project. First of all, I need a white keyboard; one with grey function keys that have the alternating numbers on the front. eBay is your friend, although very expensive. I ended up paying more the 14 Euros for a keyboard that was untested and looked like it has been lying in the dumpster for years. As I wanted to try and bleach my yellowed hardware for along time, this was the perfect dummy for testing.
I used “Sanfte Bleiche” from DM, which is for bleaching laundry and costs under two Euros per liter. It was slow process, but the result is quite nice.
Well… the keyboard looked even worth than I would have expected from the pictures in the auction.


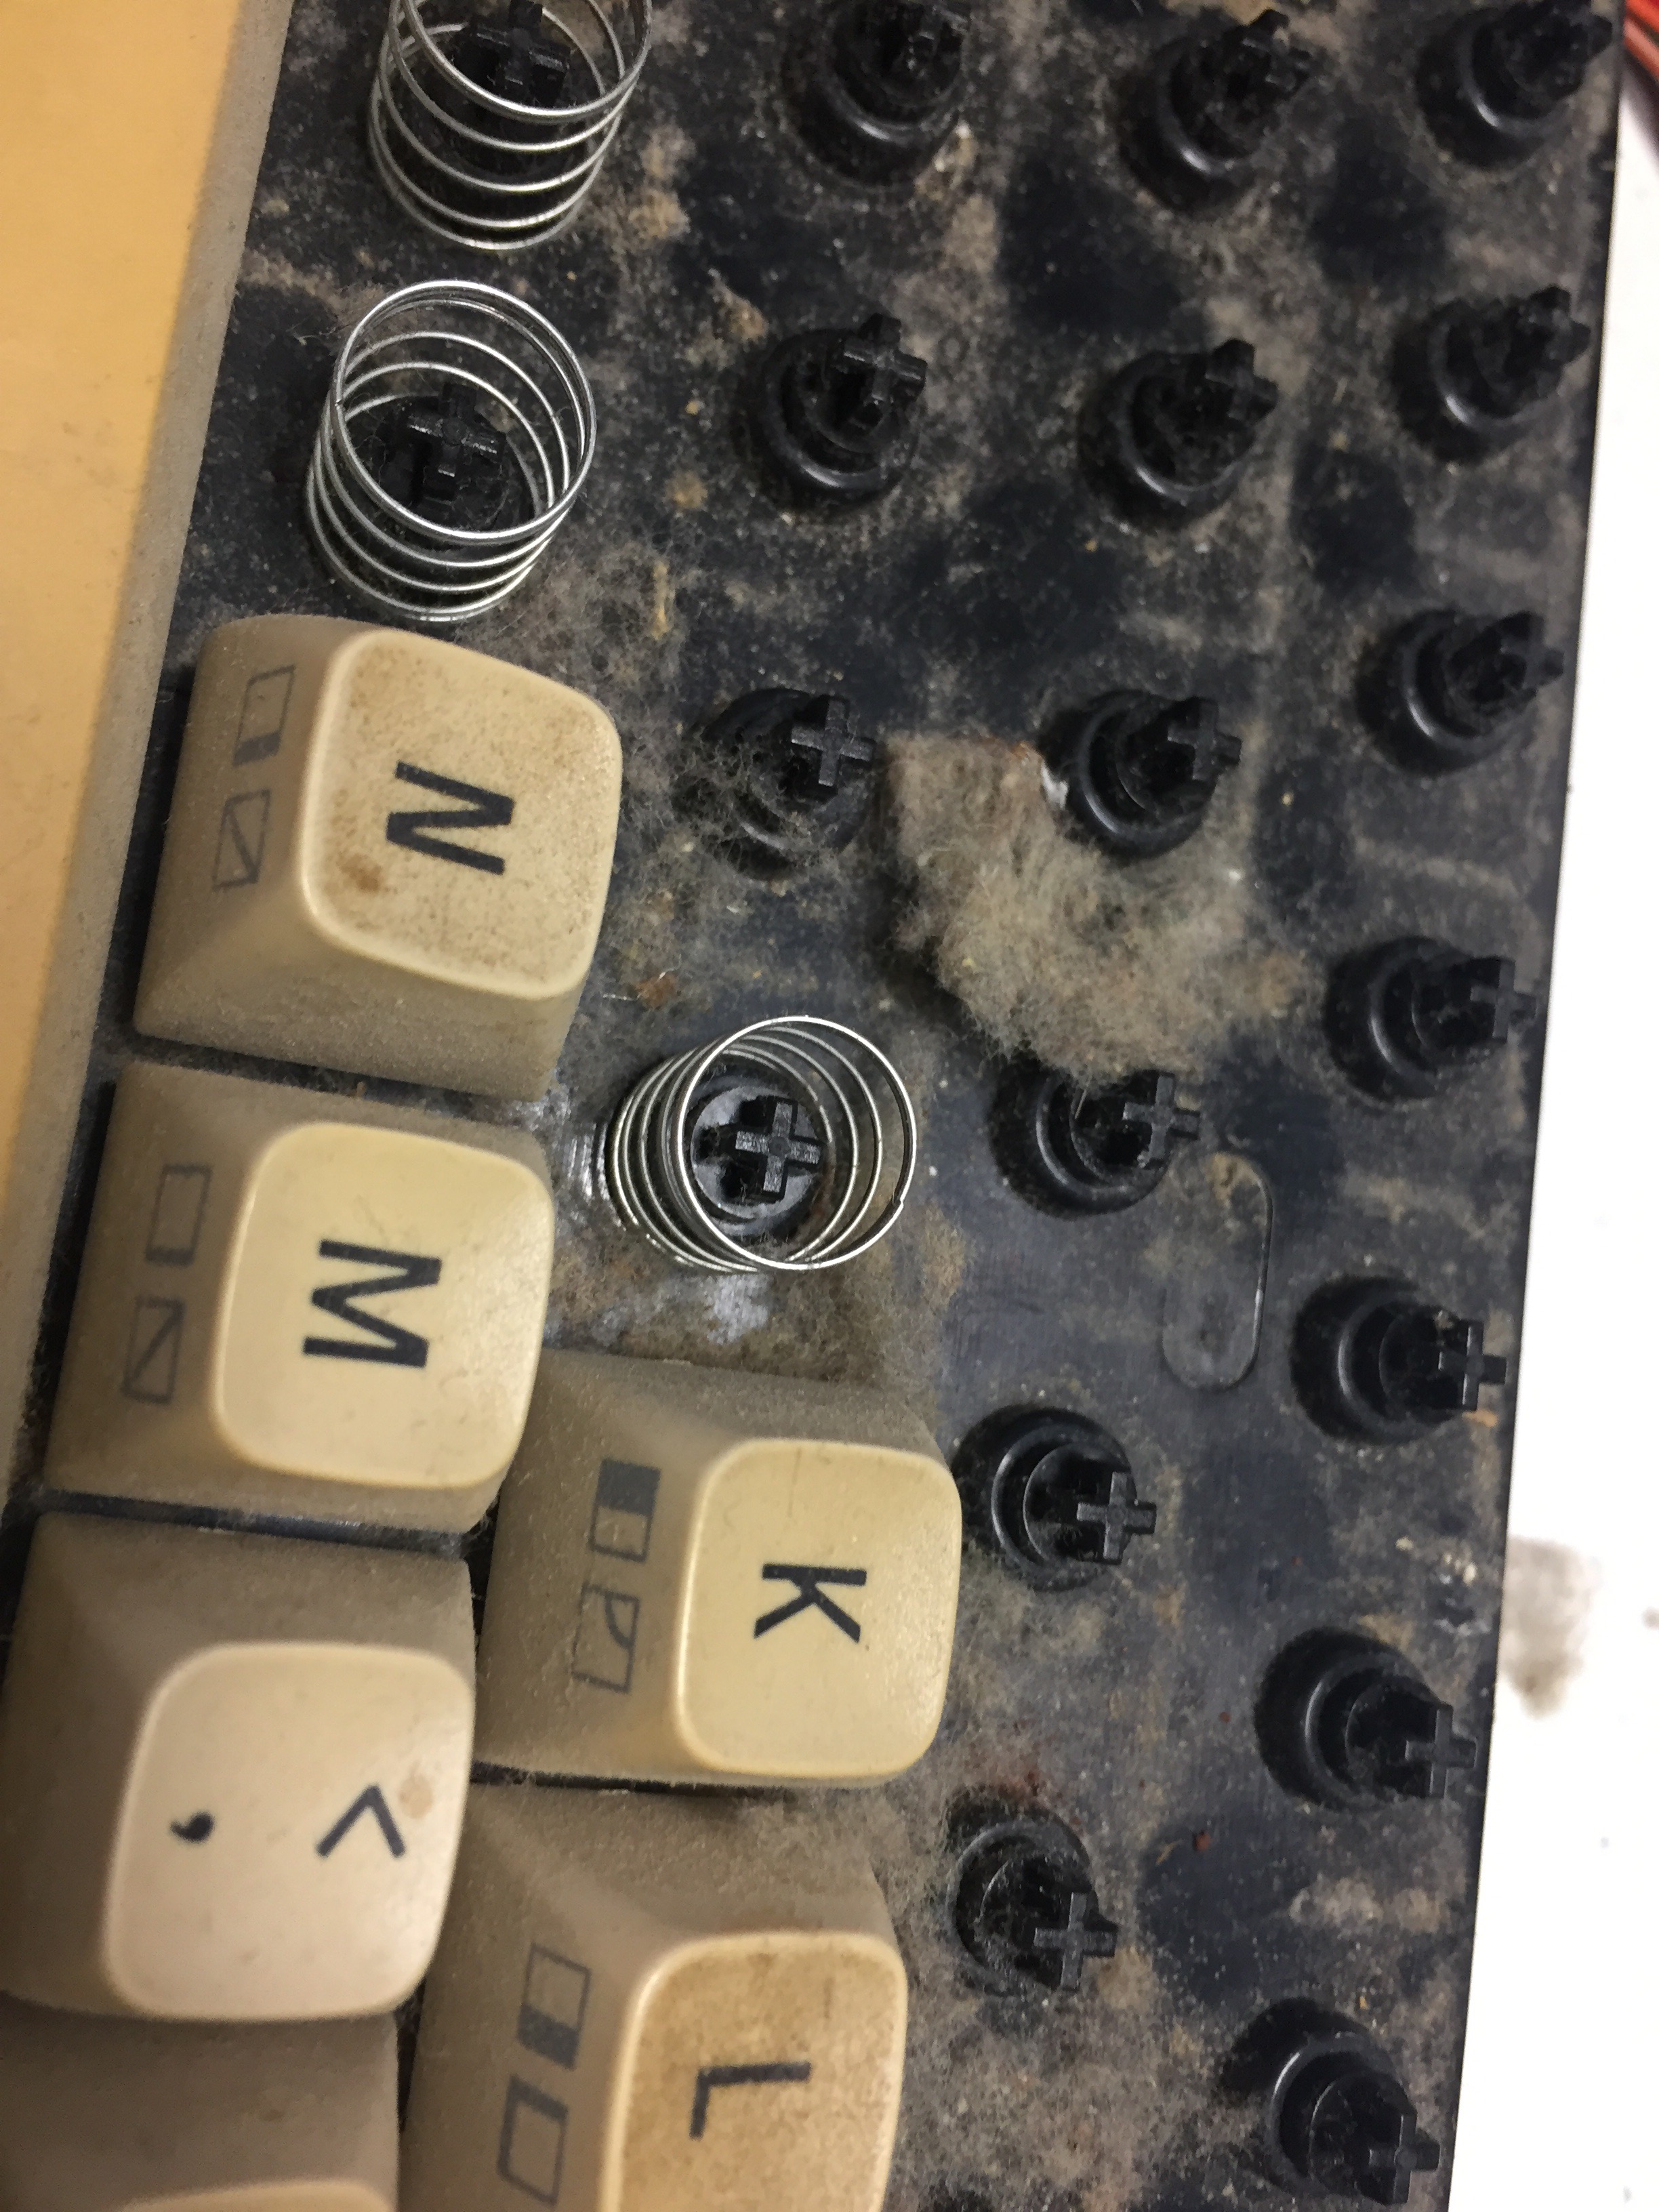
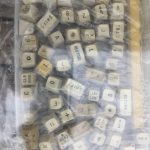
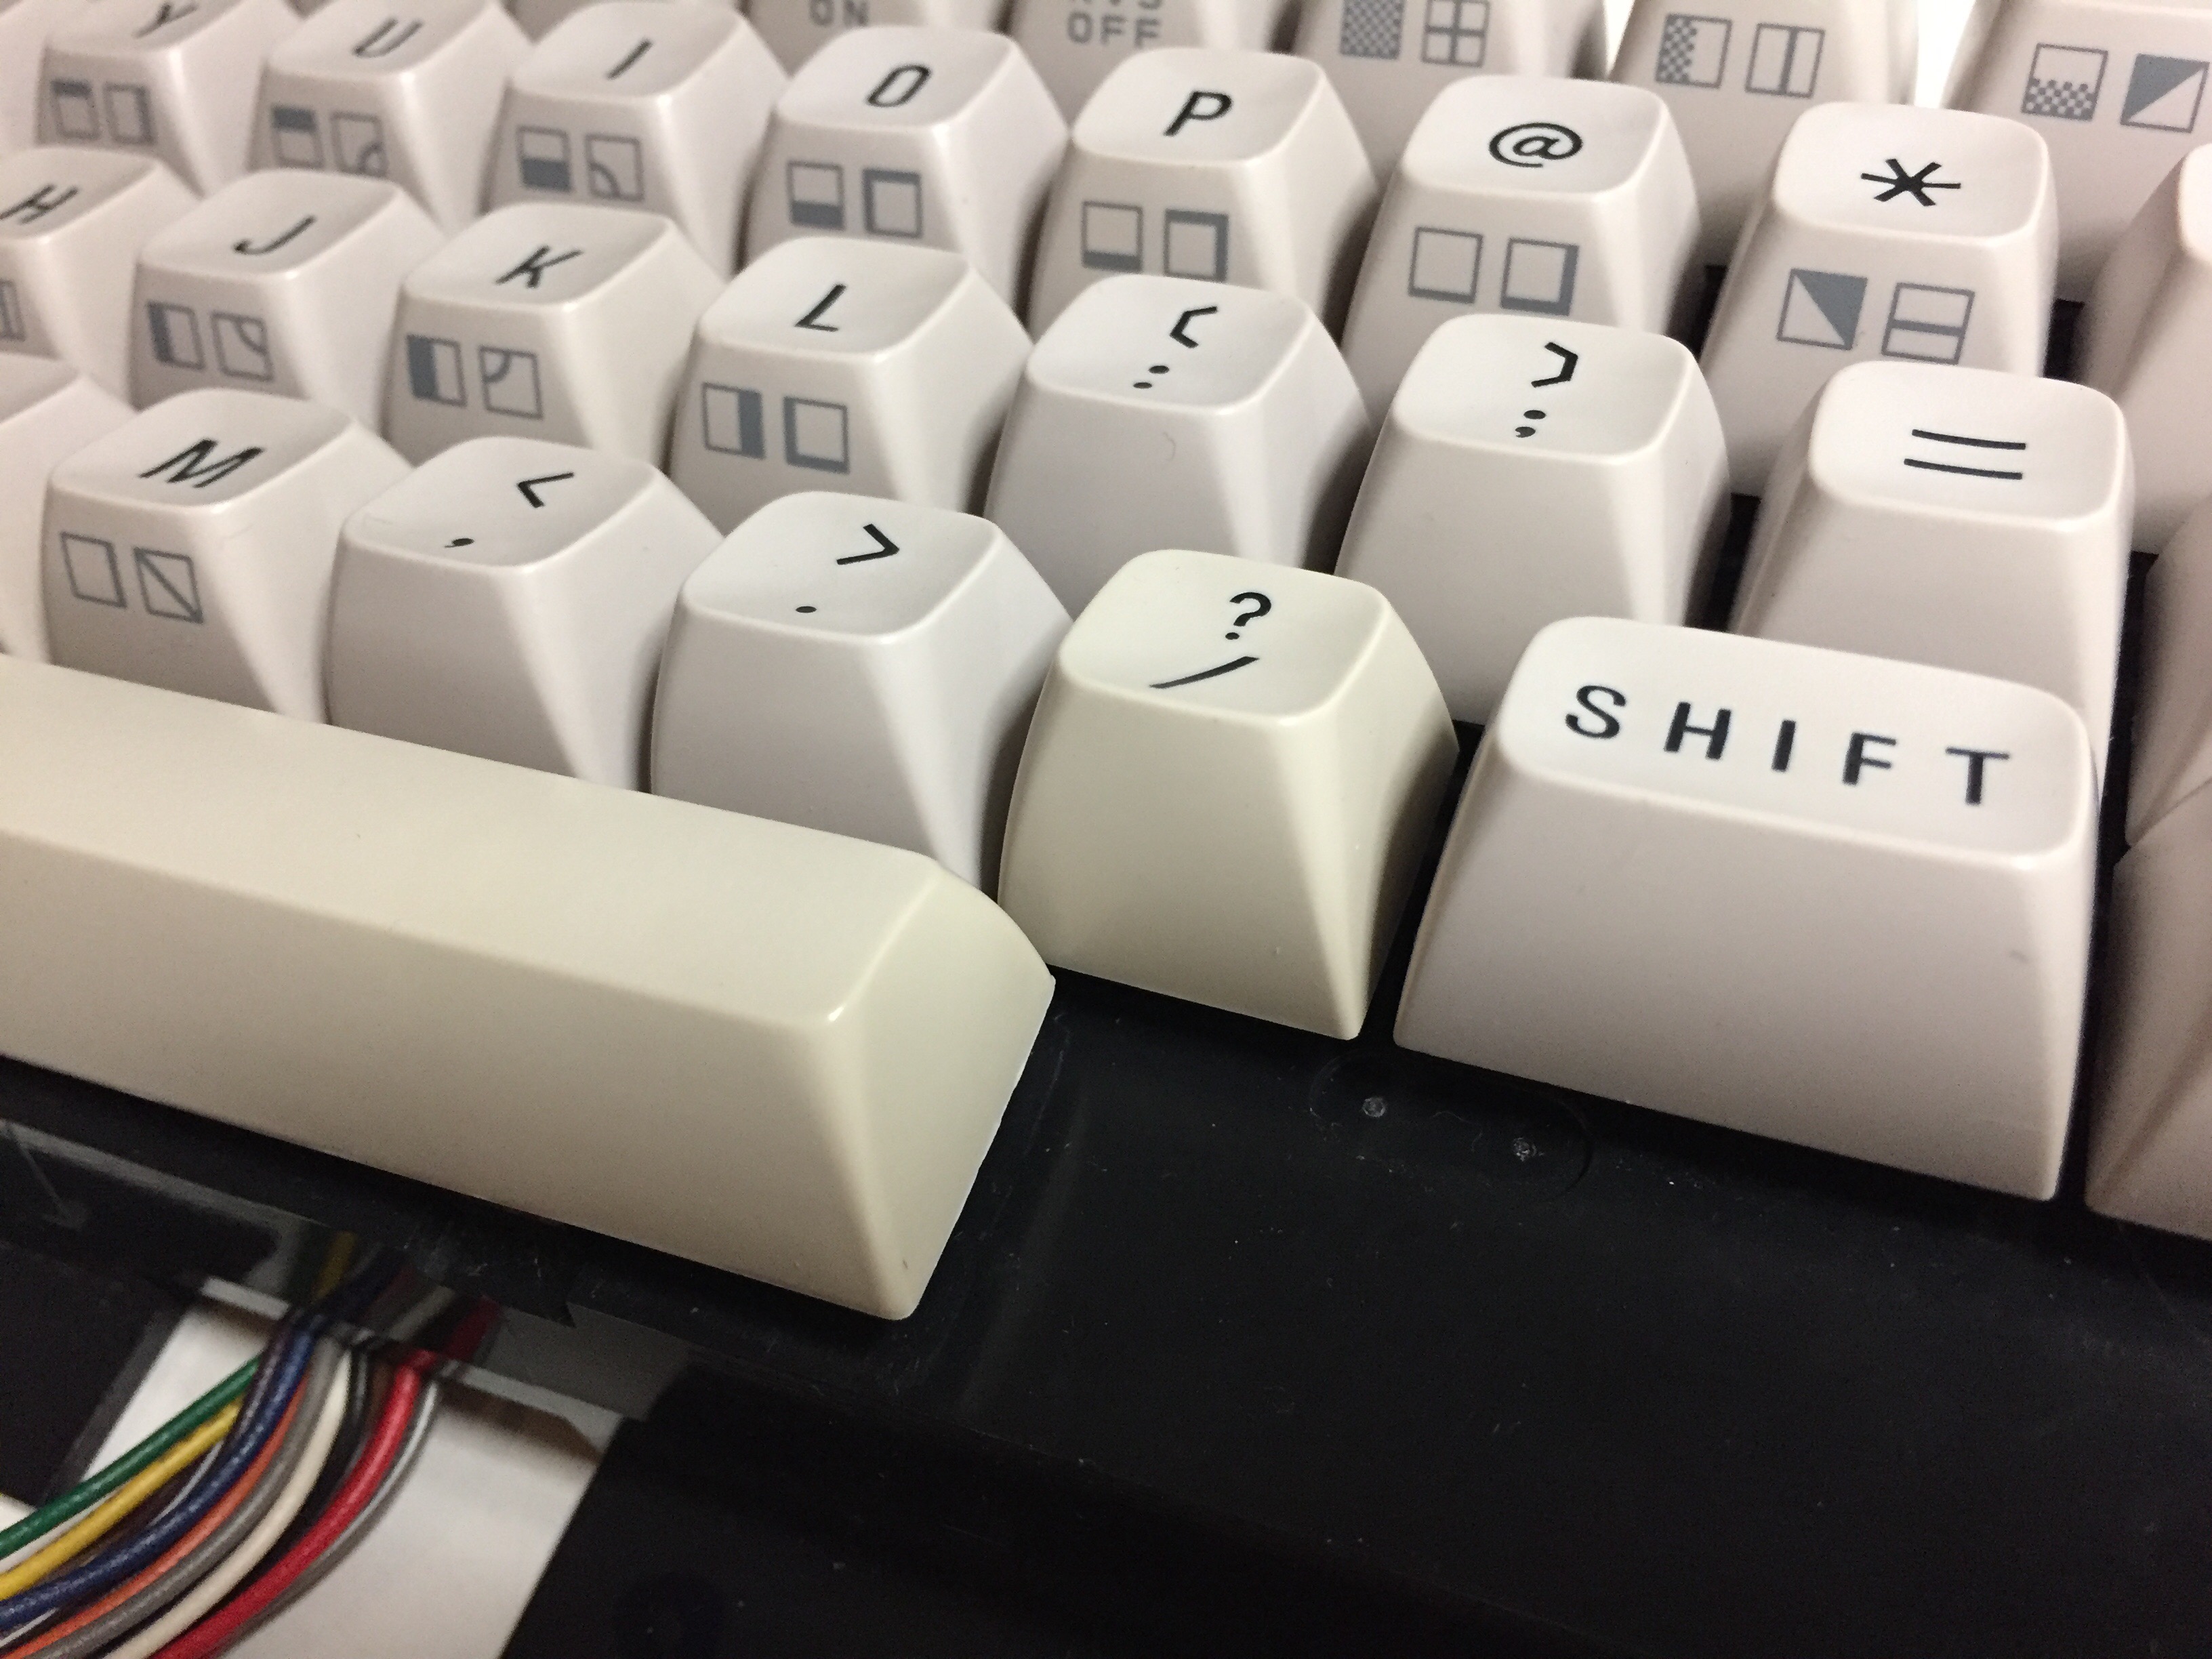
I took everything apart! Look at all this filth and crap that was in there. I put the keycaps in a bleaching bath, wrapped it up, put a glass form over it and let it rest outside for almost 14 days. The weather was not so good, so I rather let it sit on the balcony a little longer. There seems to be no way of over bleaching. 😉 Here are some pictures showing the progress.
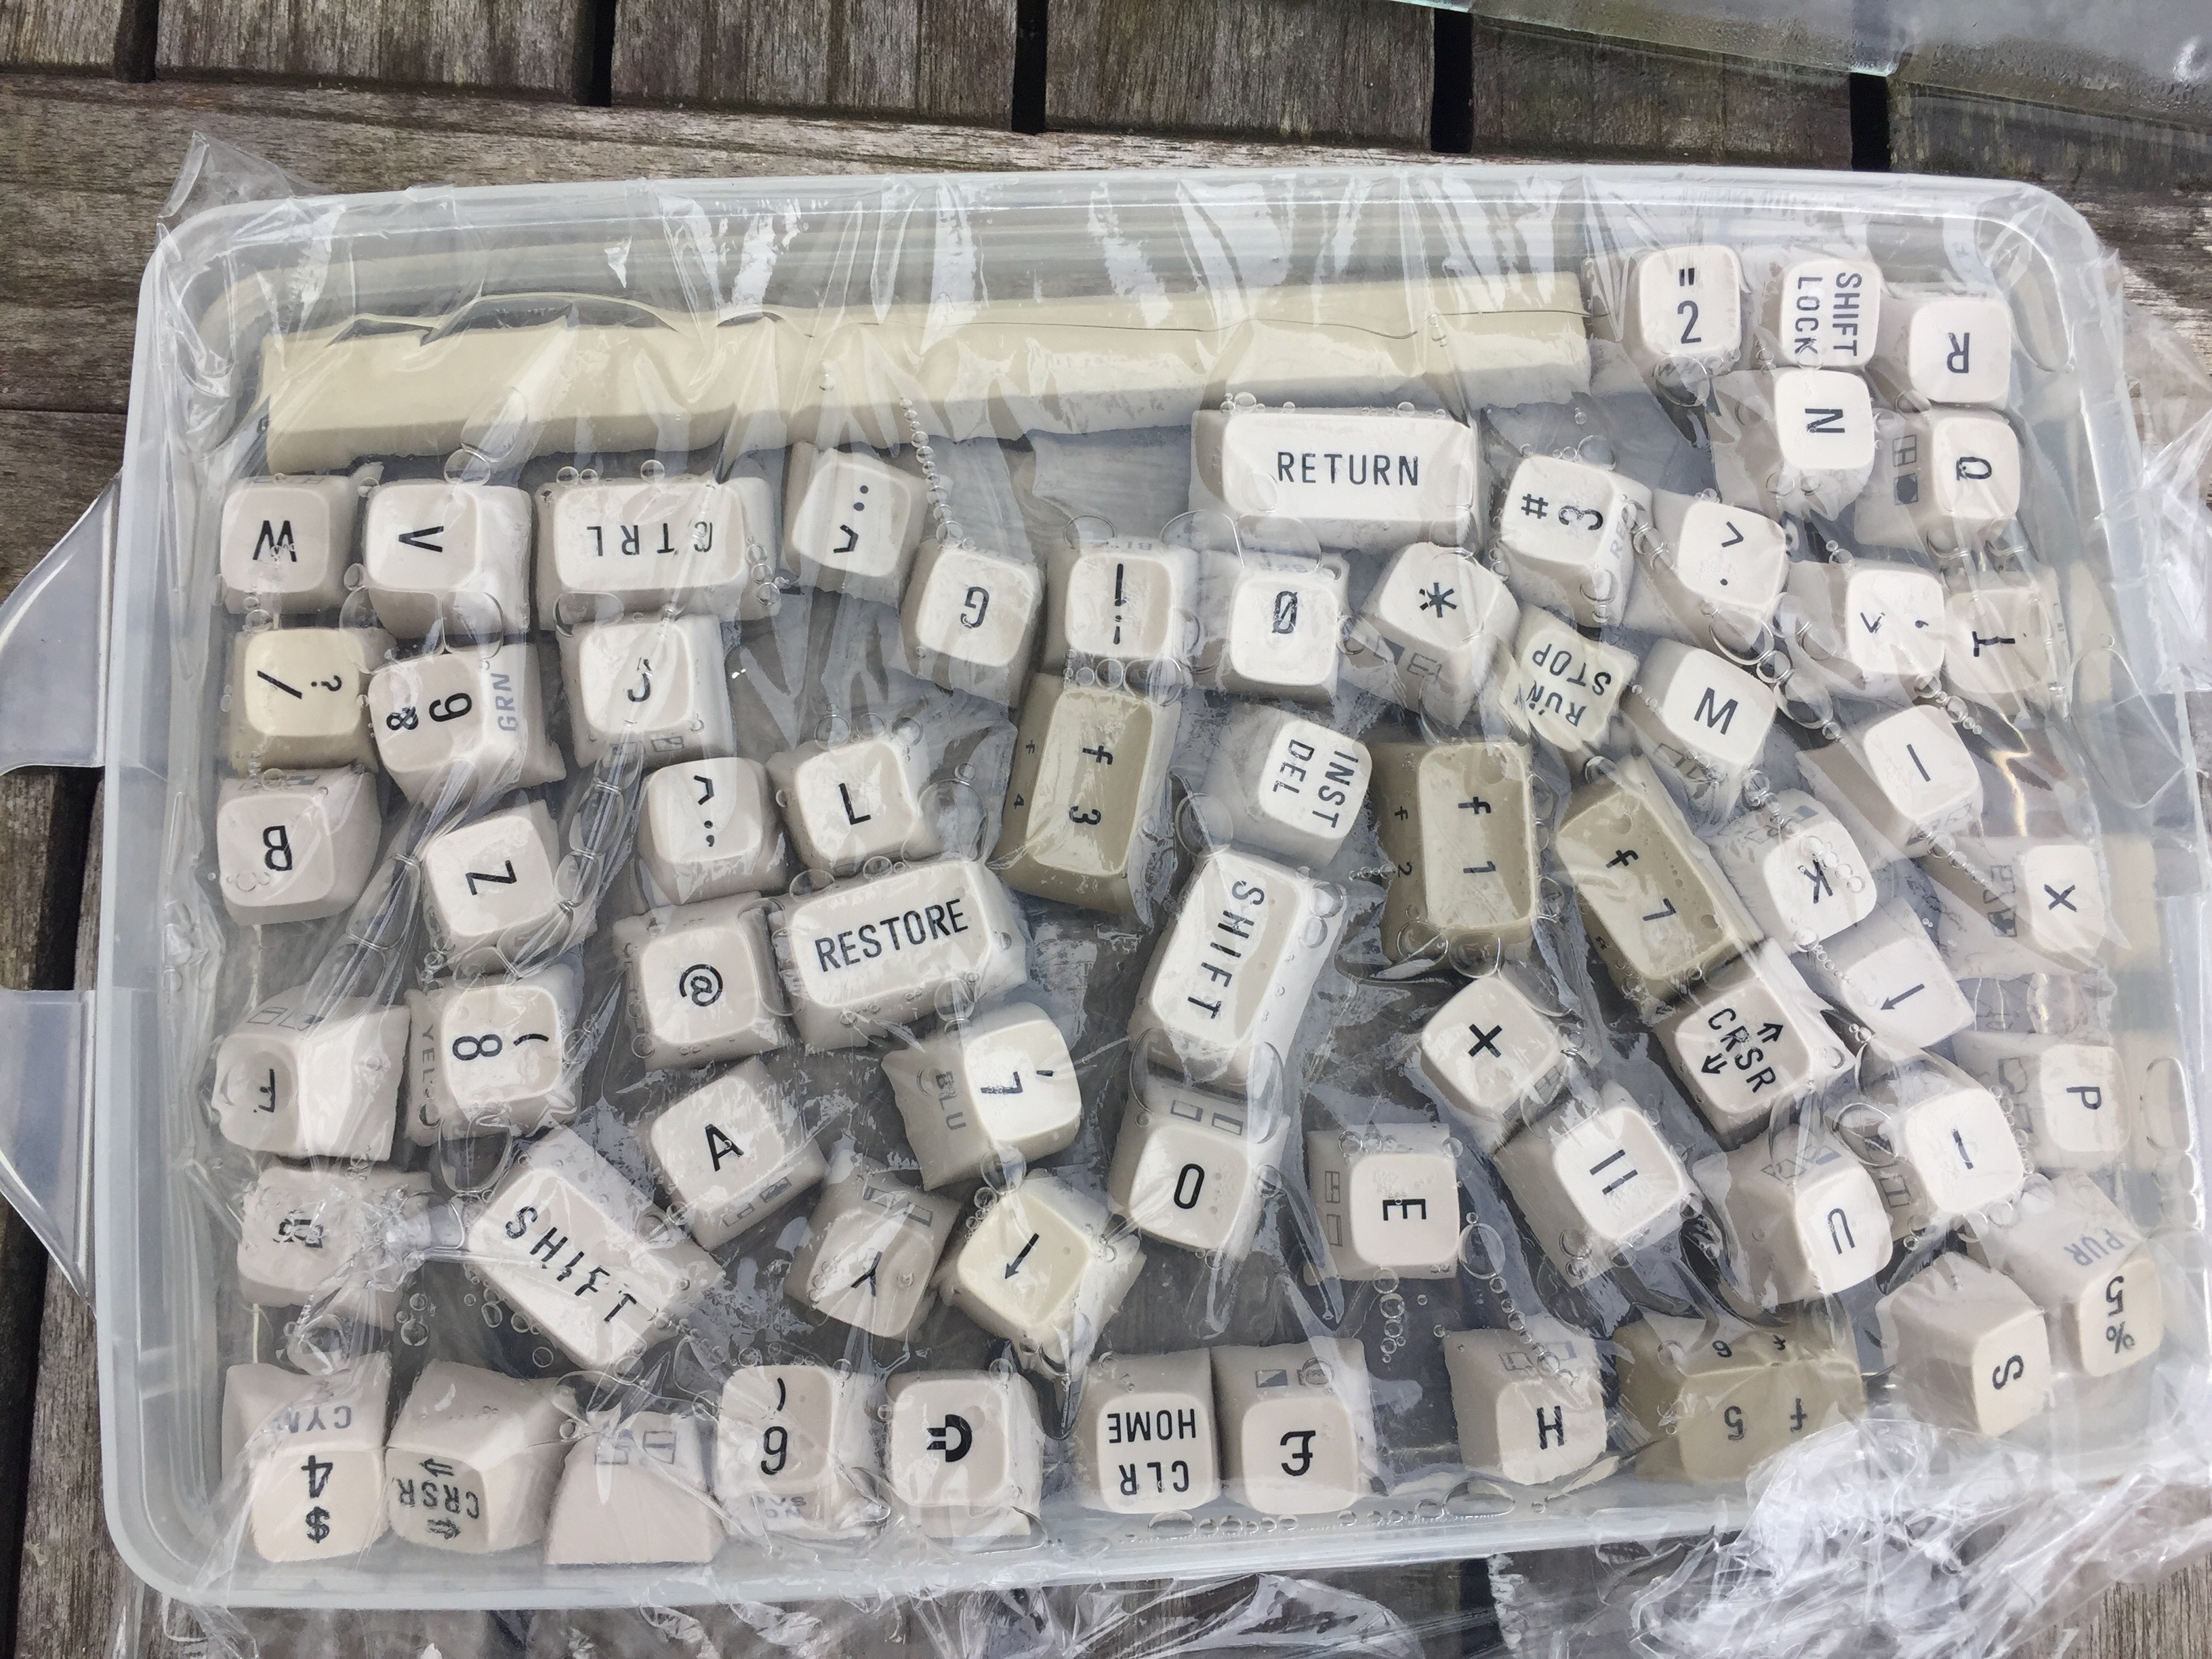
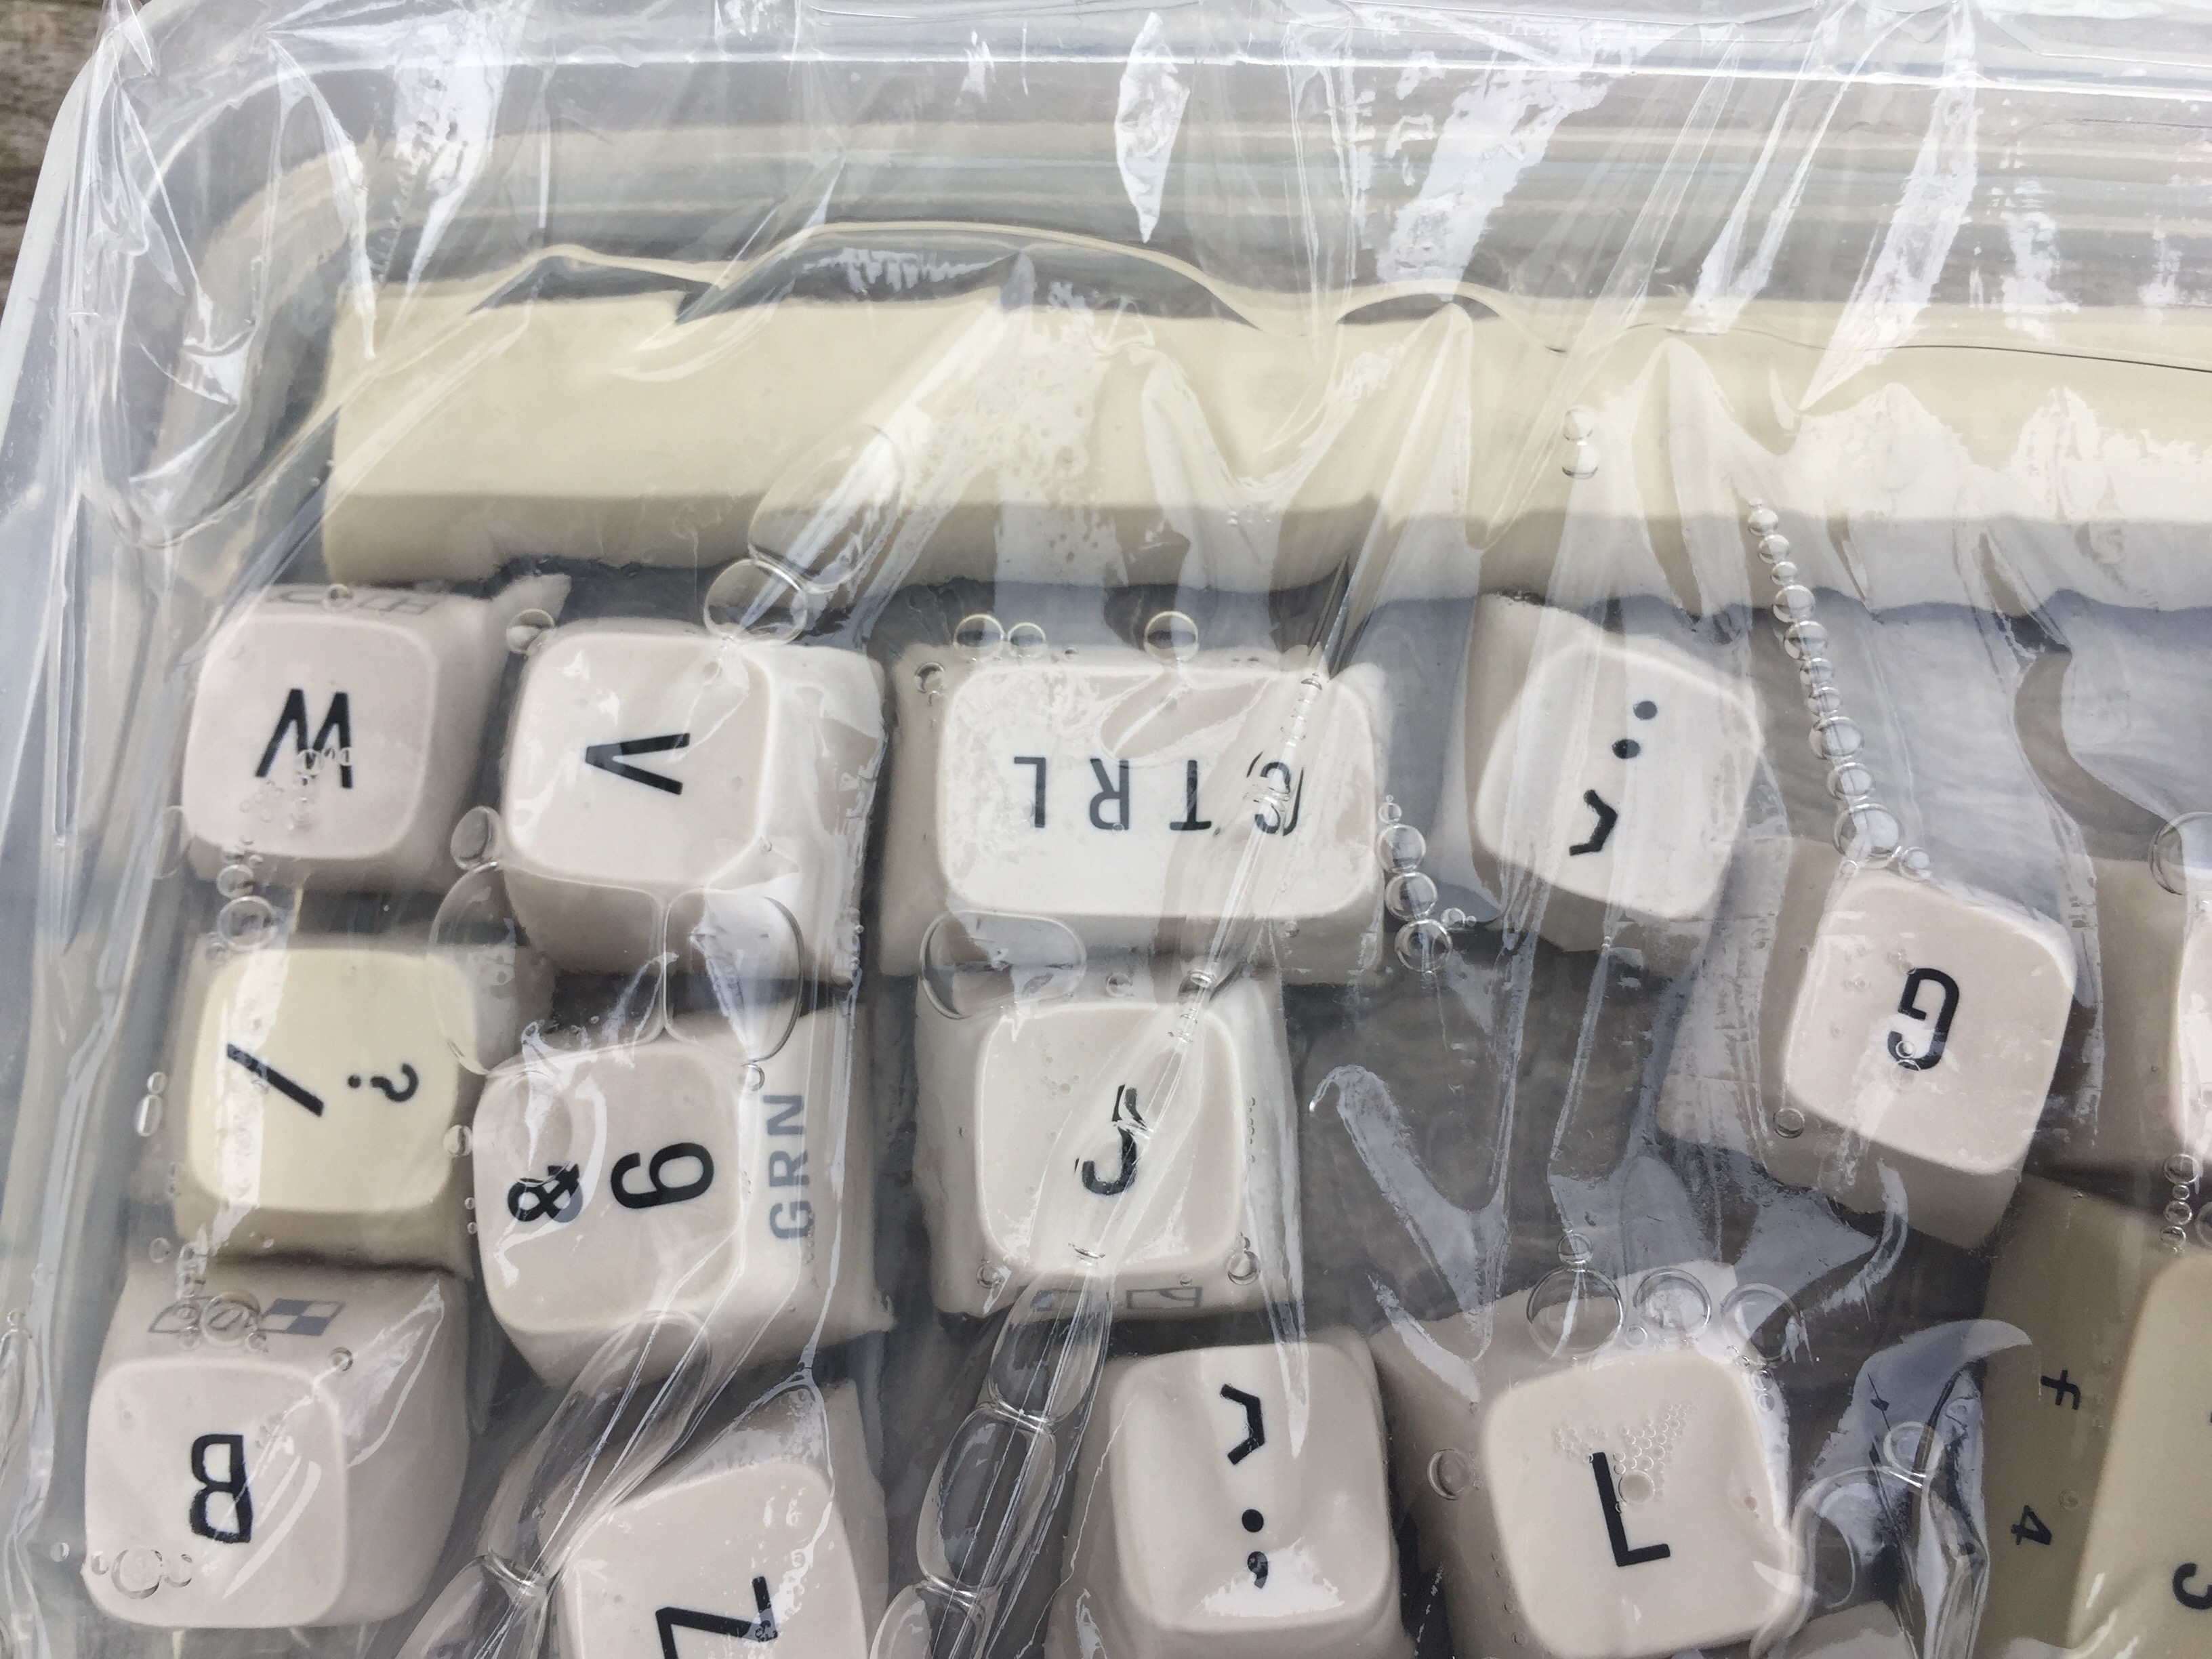


As you can see the problematic space key and the ? become brighter and brighter. Sadly they still not quite match the other keys…probably they have been from another keyboard? But I think it is okay.
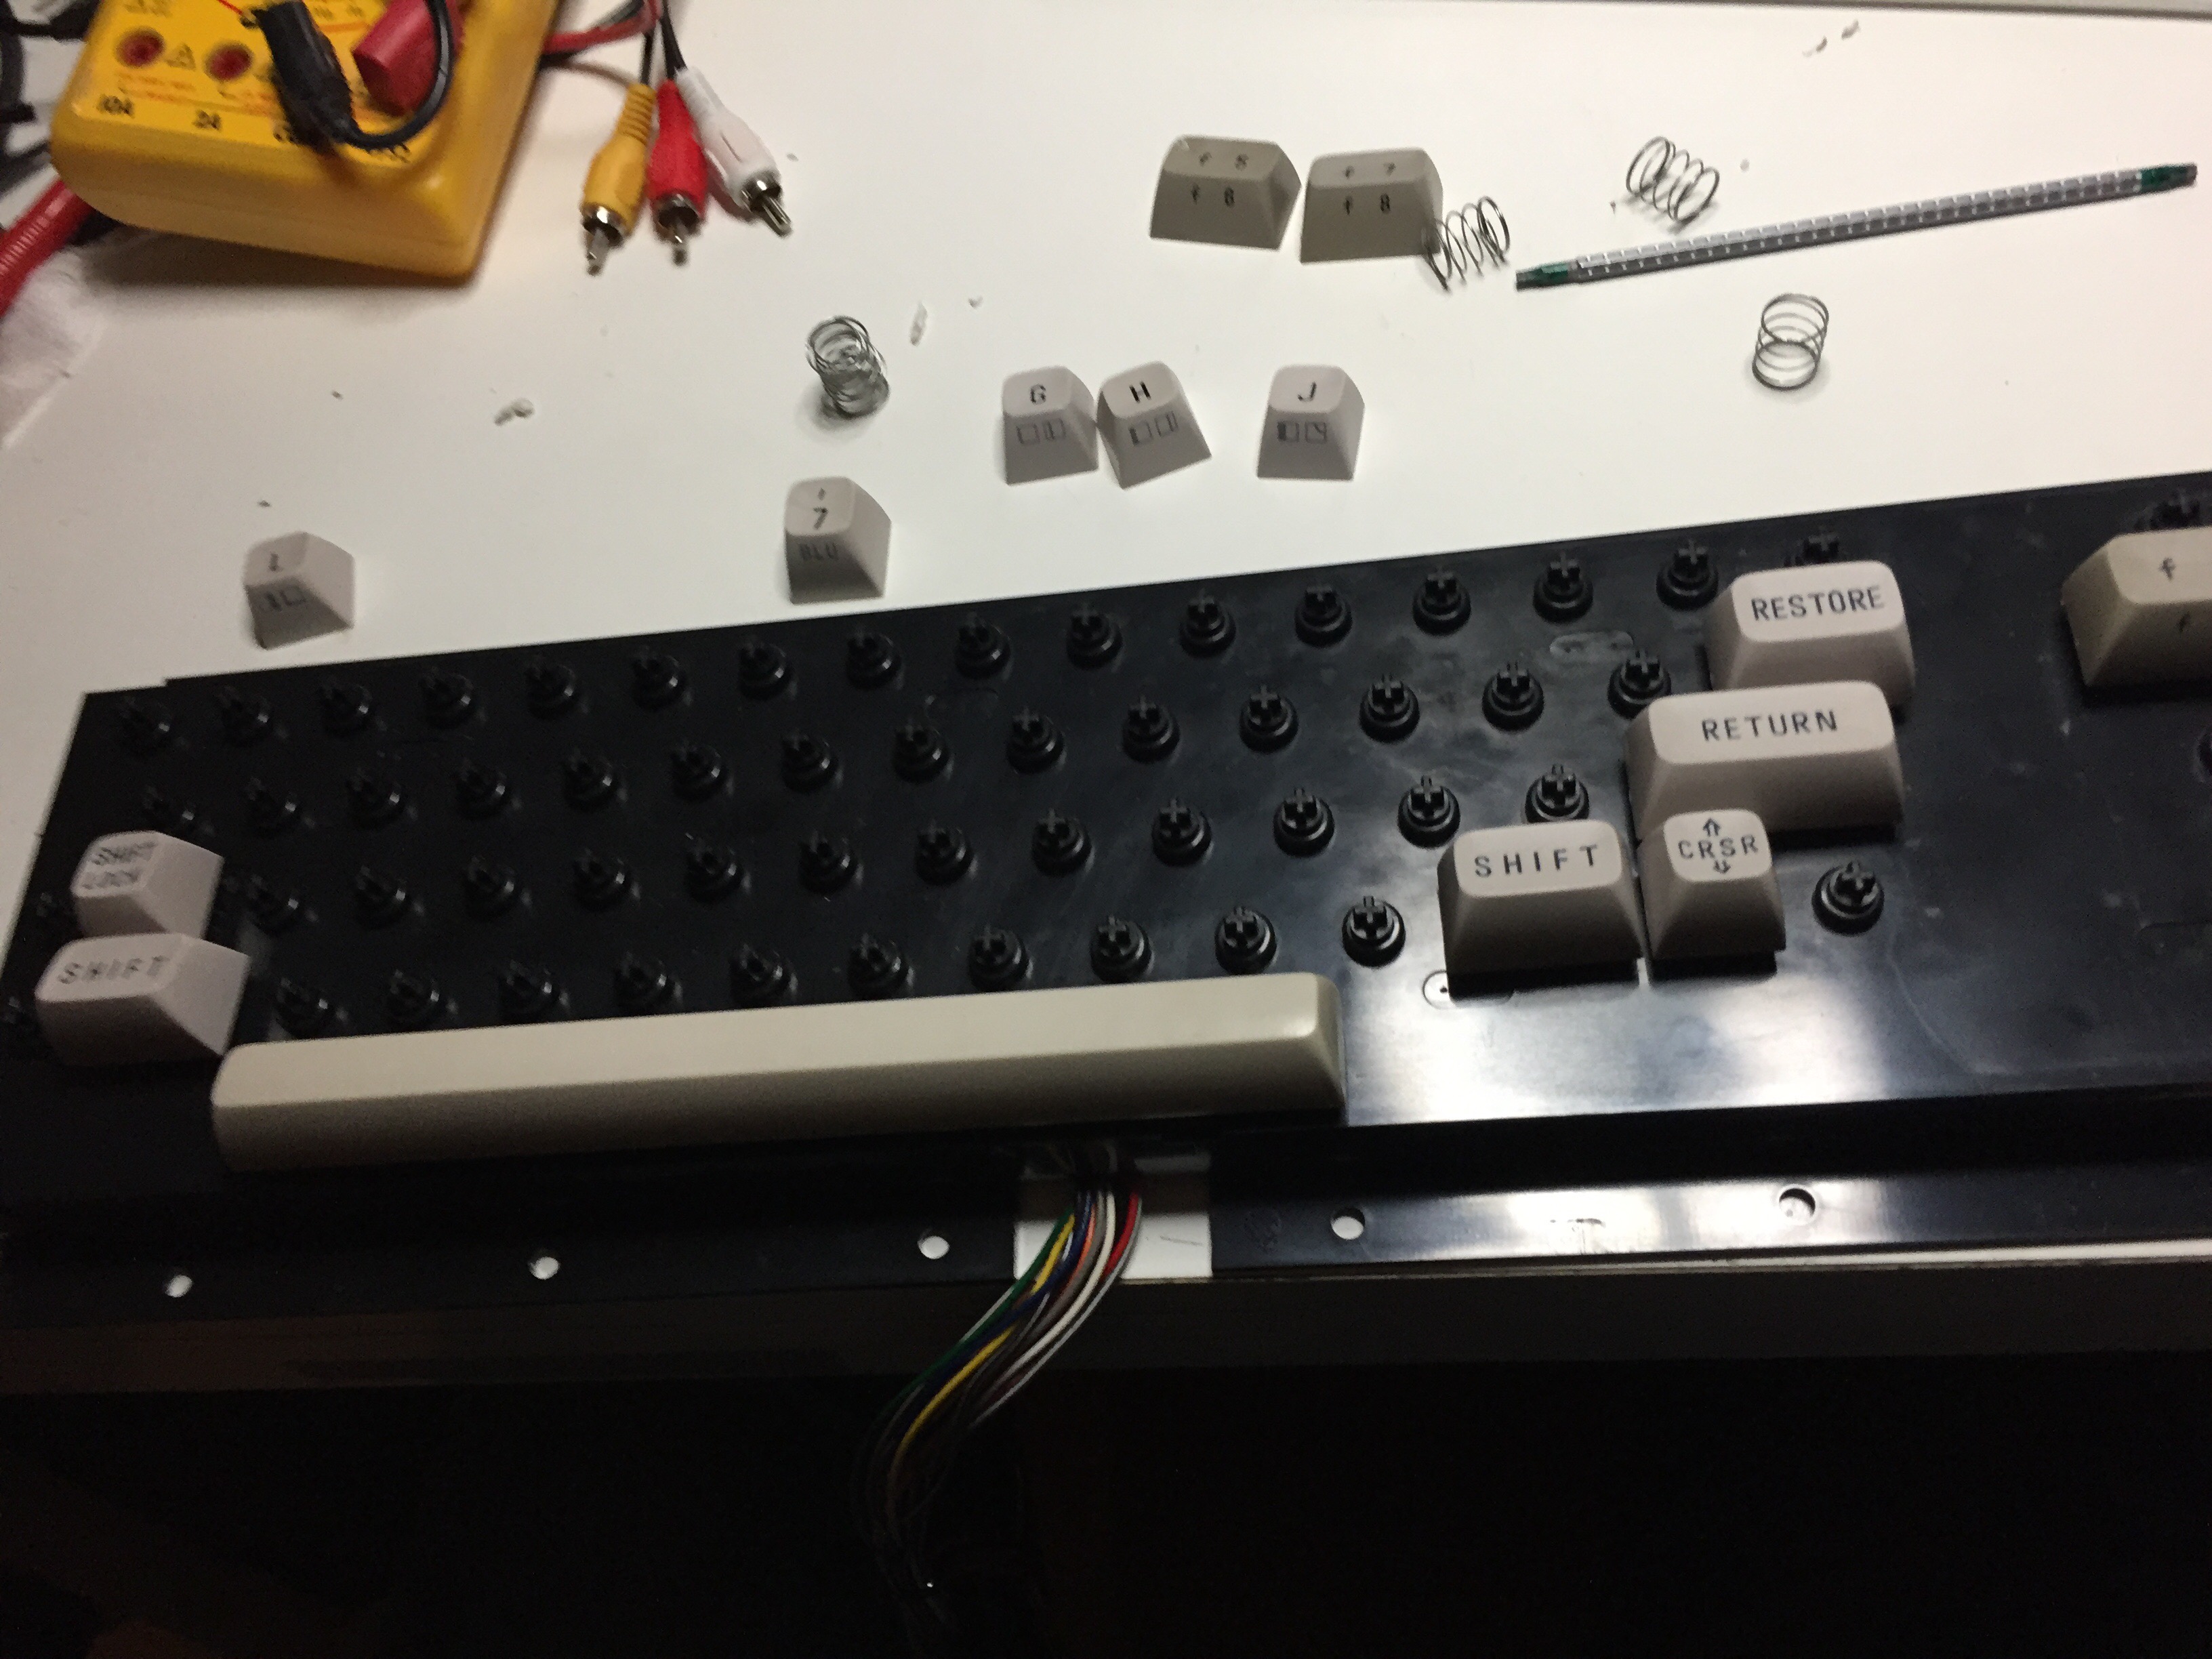

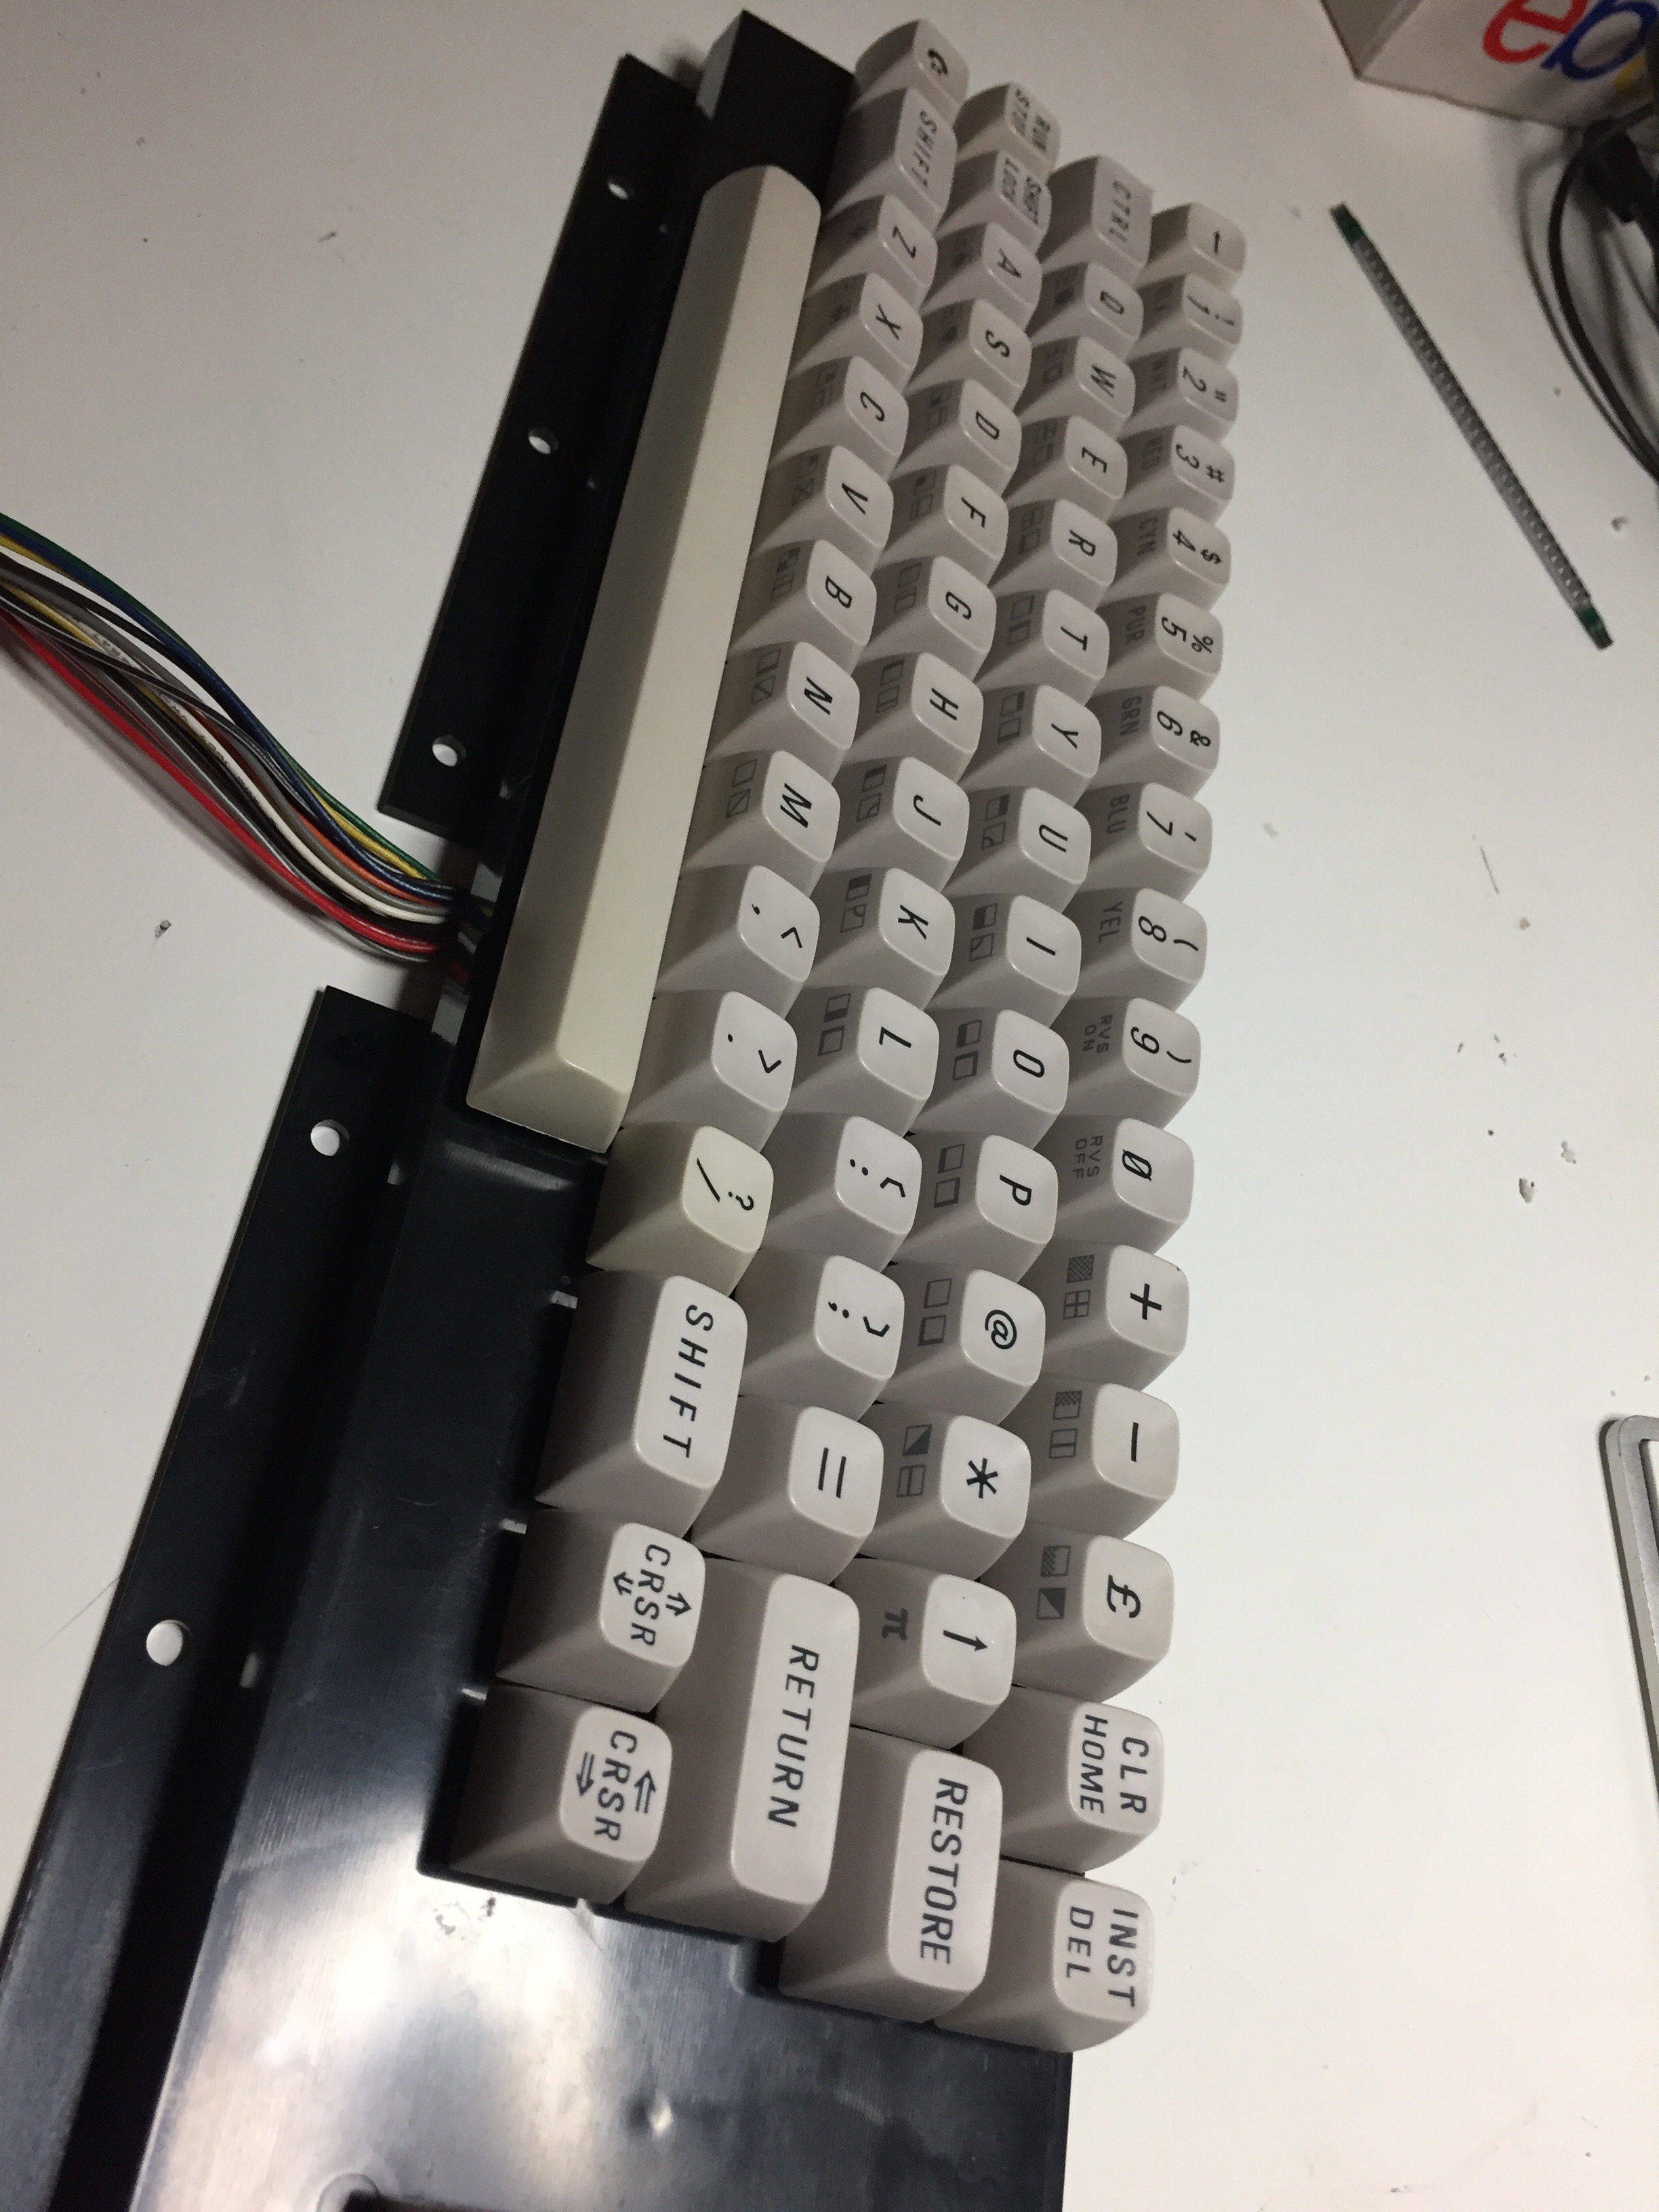

Putting it all back together I was missing two of the springs. I had kept them in a ziplock and couldn’t explain why two are missing. The kids had no access to this bag. I noticed that the springs tend to slip into each other, making two or sometimes even three look as one. While cursing I removed most of the keycaps again to see if I had put in two under one cap and well, the return key had two springs. One was still missing, so I had to dig in the basement for replacement. Found it in an old box I bought from a flea market, that was full of VIC20 parts. So much for the keyboard.
Part 1: Keyboard – CHECK!