NES Coffetable… at least
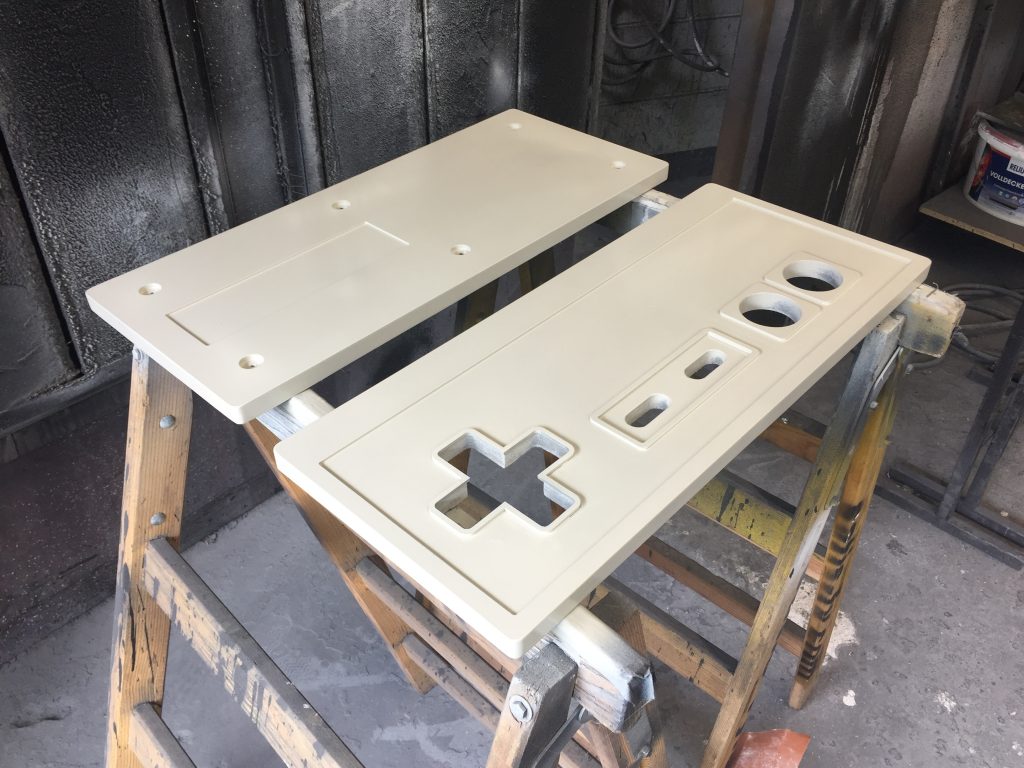
Second part of this adventure led to a lot of sanding and painting all the parts and in the end… see for yourself…. I messed it up the Heinzelmann way!

It all started with the statement that the CNC parts where not identical to my original drawings and things were missing, so I had to improvise and cut out the missing parts using foaboard.
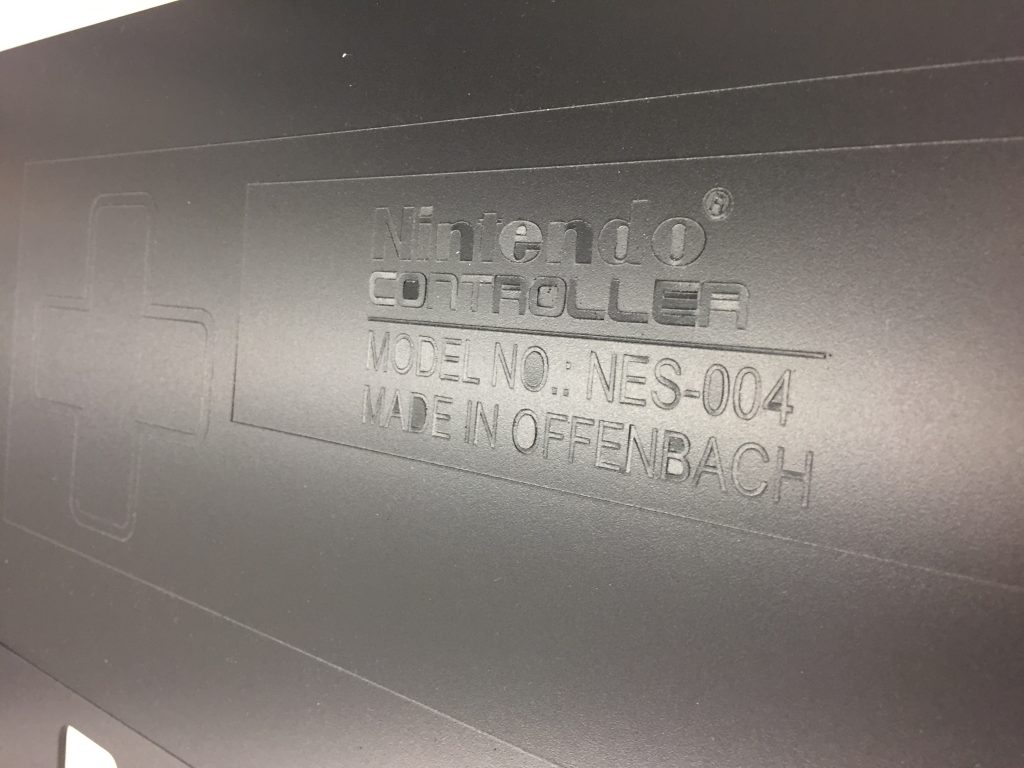
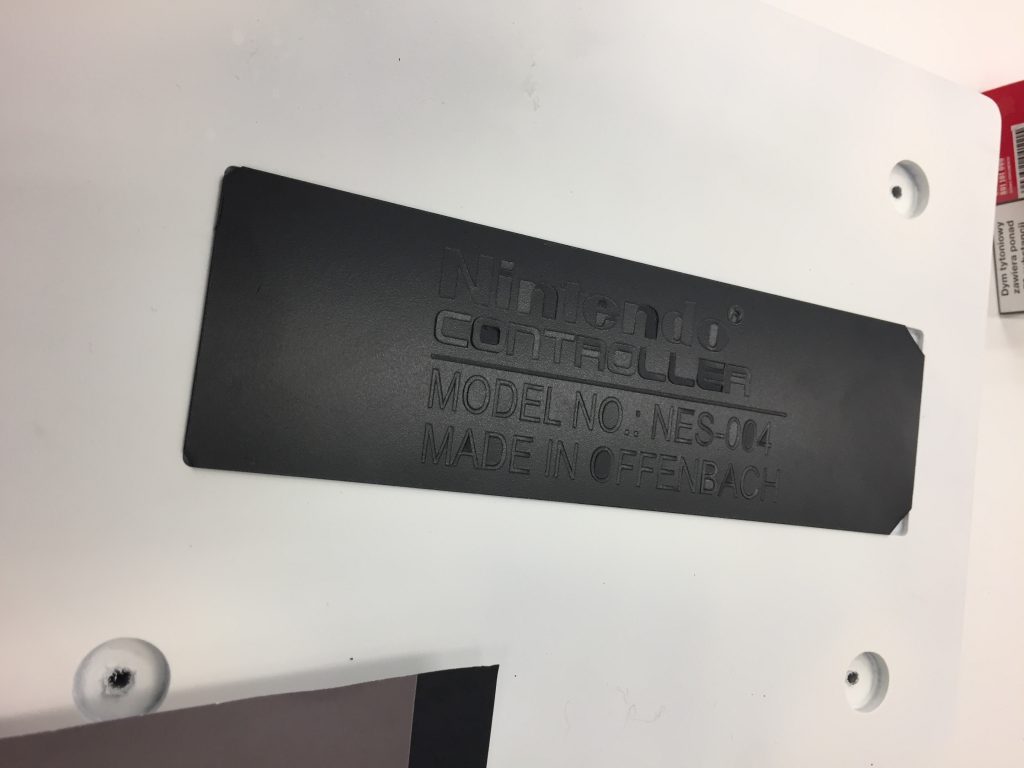
Usually, the text on the bottom is stenciled it but it turned out that the even my attempt to make them from forex kinda failed. The other problem was that I had no idea how to get all those tiny letter, that break at the slightest touch, over on the bottom side of the controller, so those were left out.
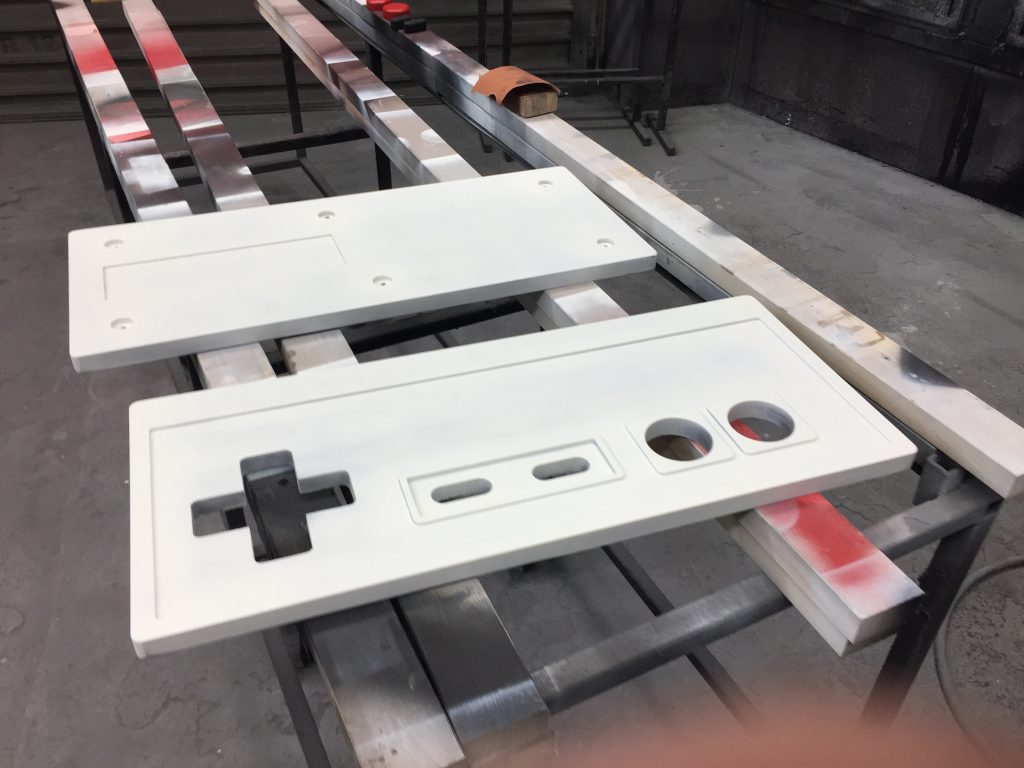
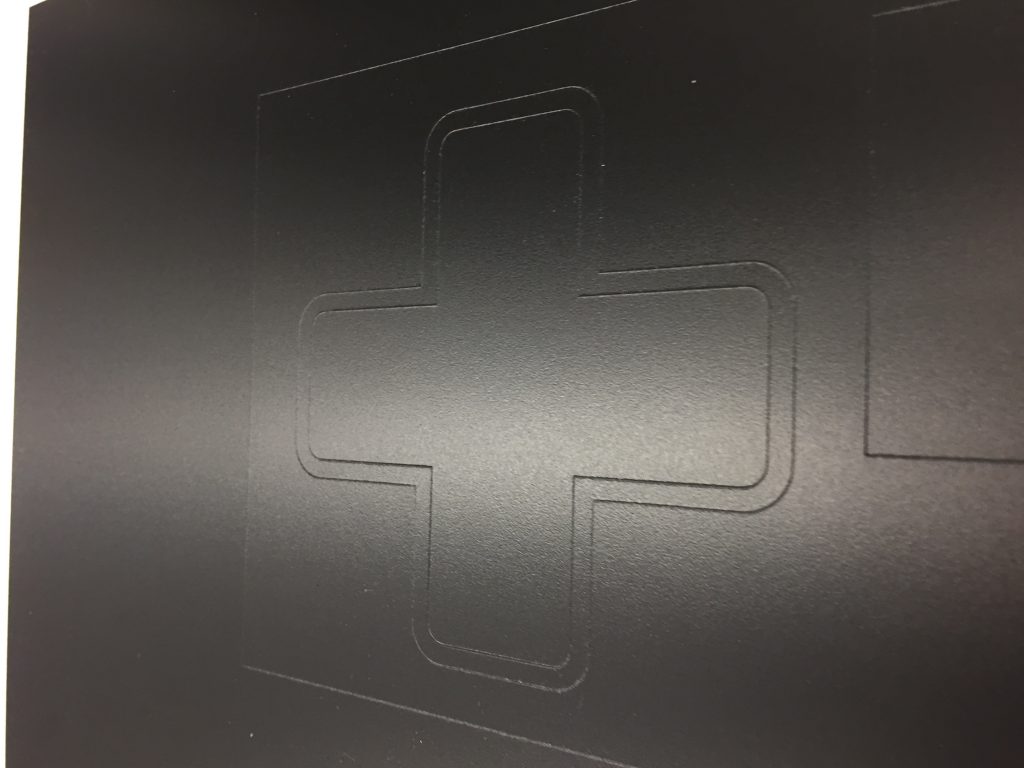
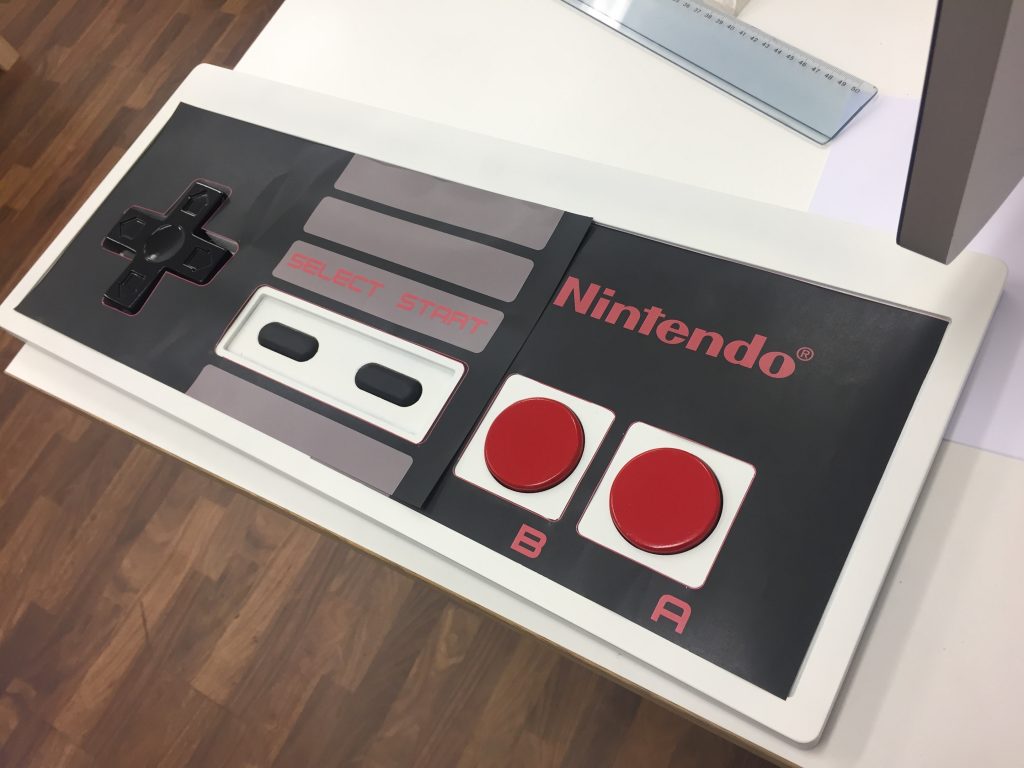
At least I could get the border around the D-Pad in place, although it was a little too small. Check the images above… it is still missing on the primary paint ob. The letters and border just arrived a couple of days later.
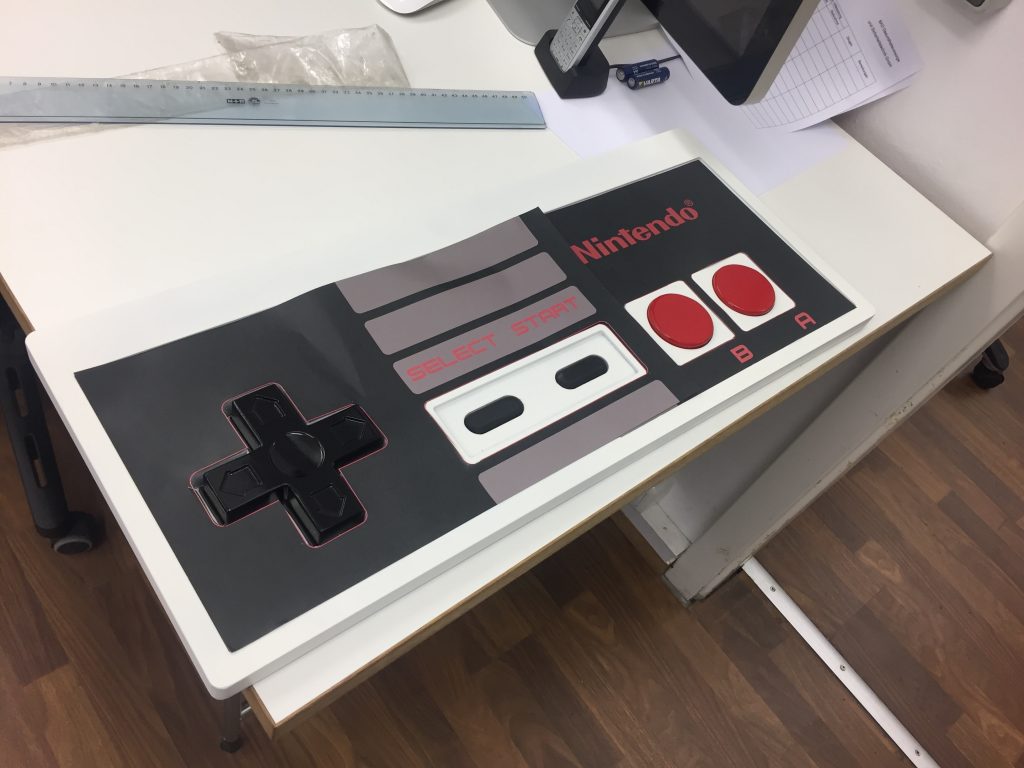
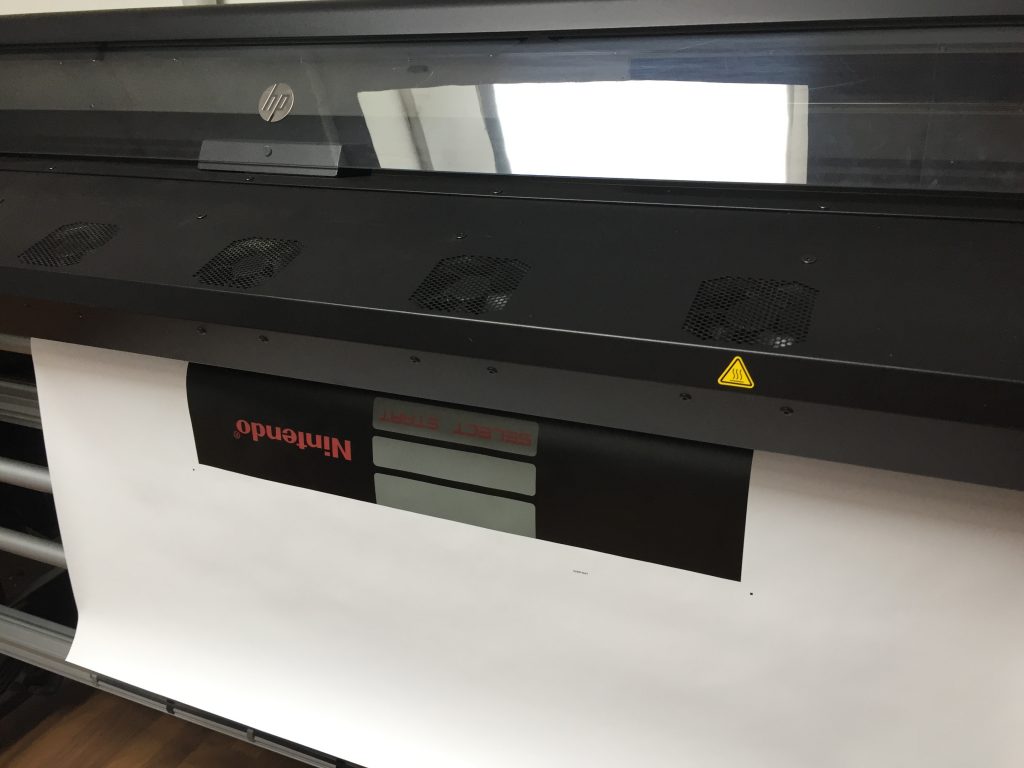
The label had to be adjusted, as the there were some tiny offsets that happened due to me fitting in the missing border and the rebuild in CAD that my colleague did. Here you can see the first try, made of two A3 sheets printed on a regular laser printer.
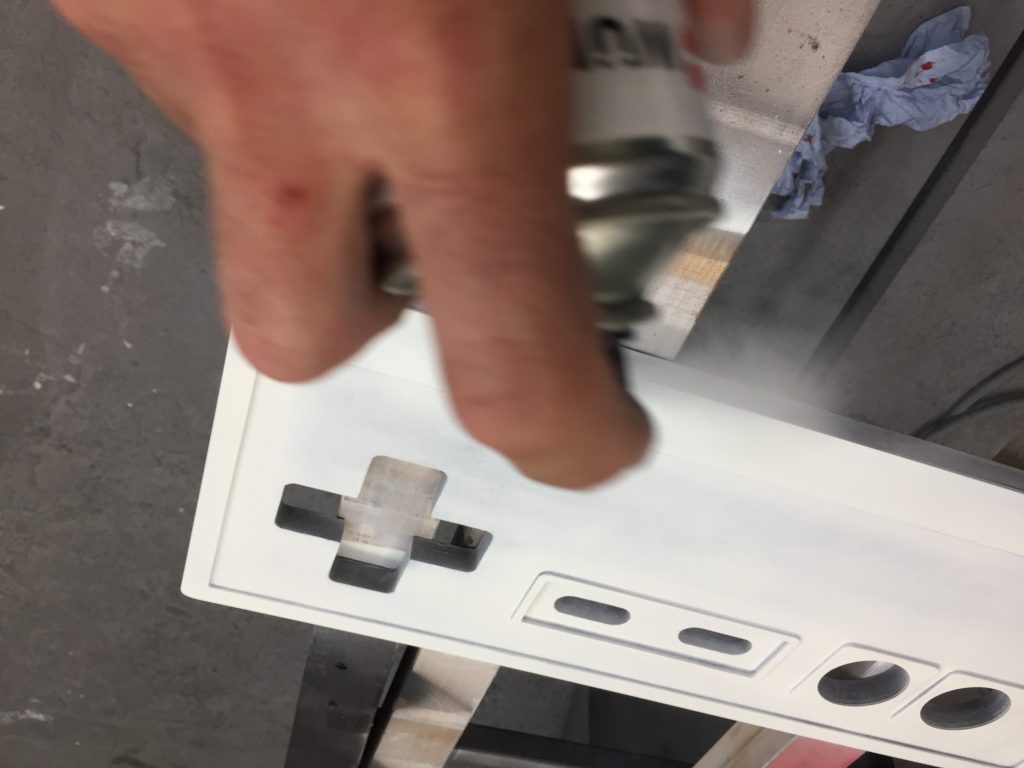
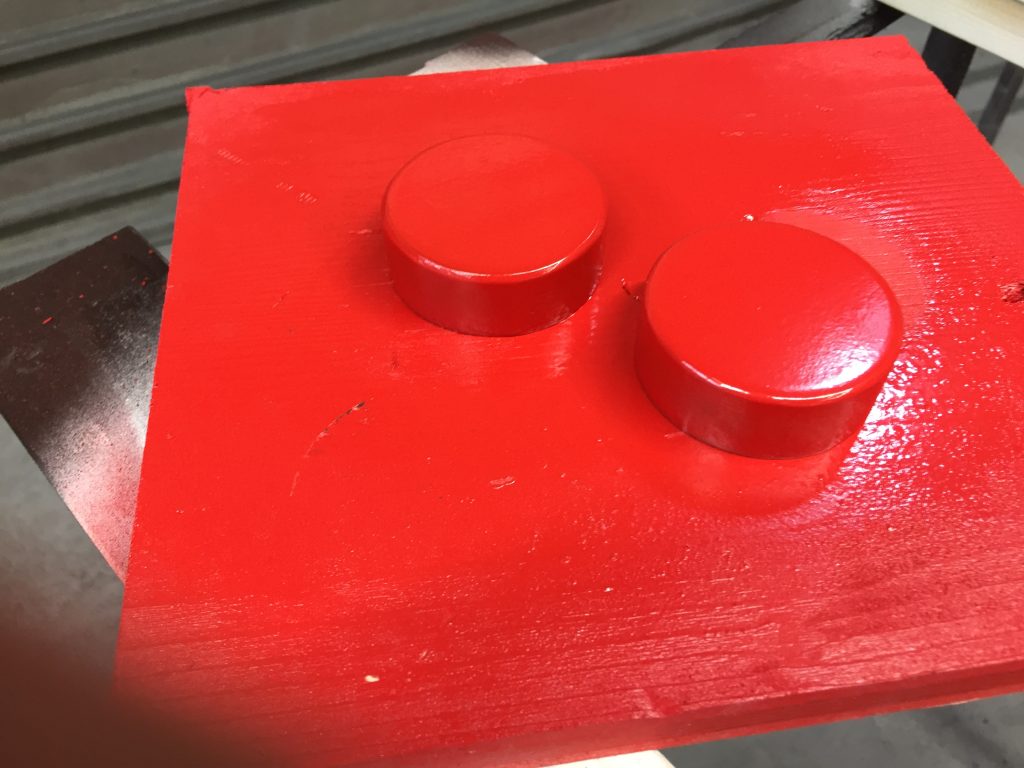
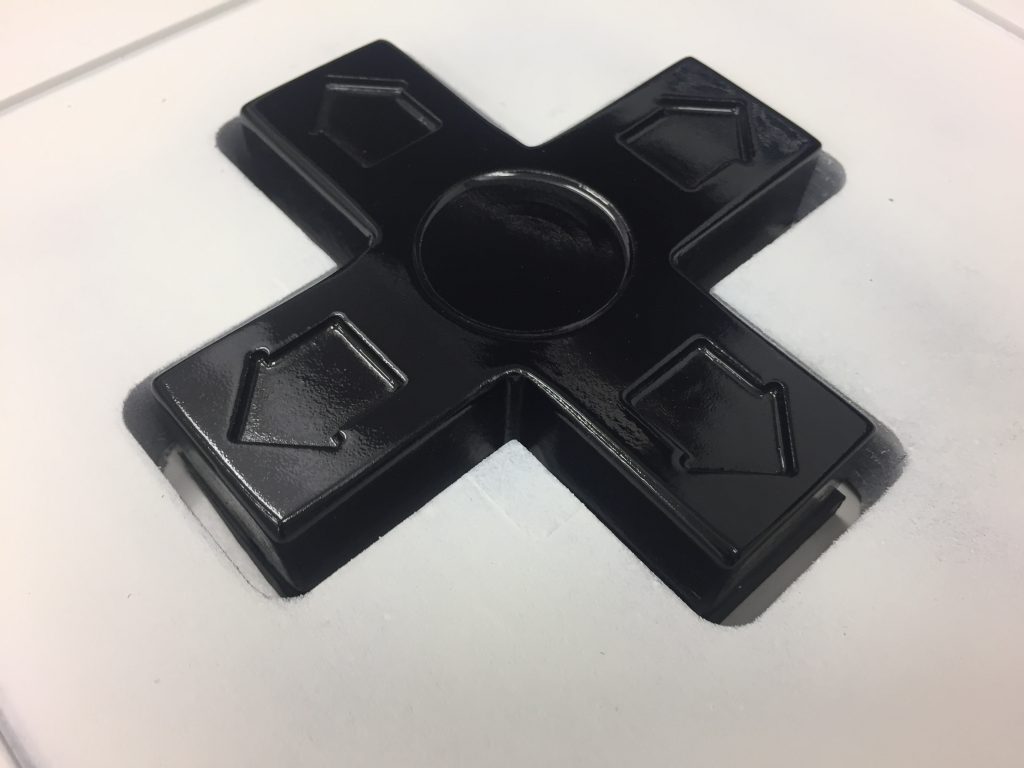
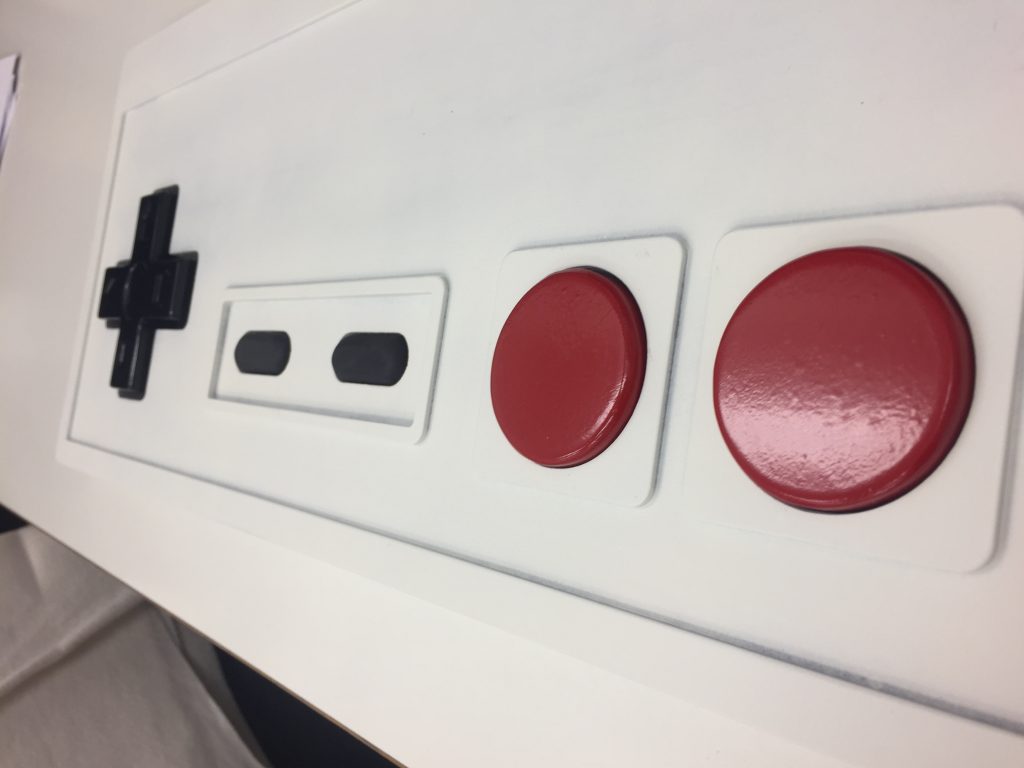
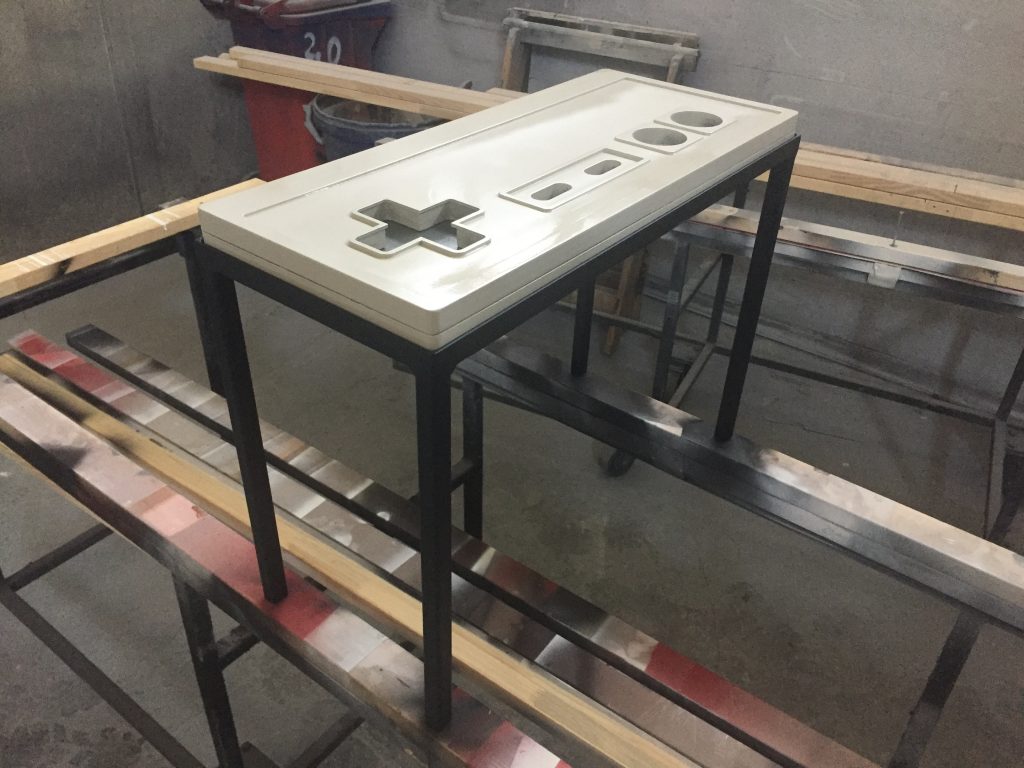
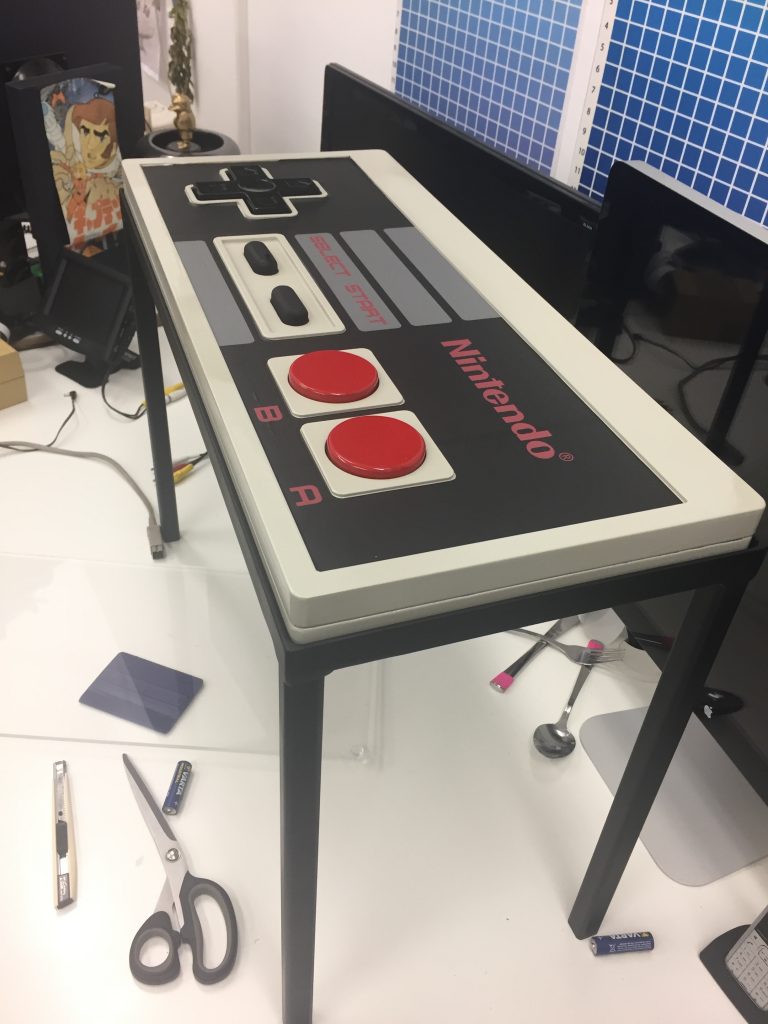
Finding the right color for the NES grey, I compared the original controller with the RAL chart and went with RAL 7044 that seemed close enough. For the A-B buttons I just took a red high gloss paint that I found at work. D-Pad got only a high gloss coating on the original black MDF and start and select button just got a matt black finish.
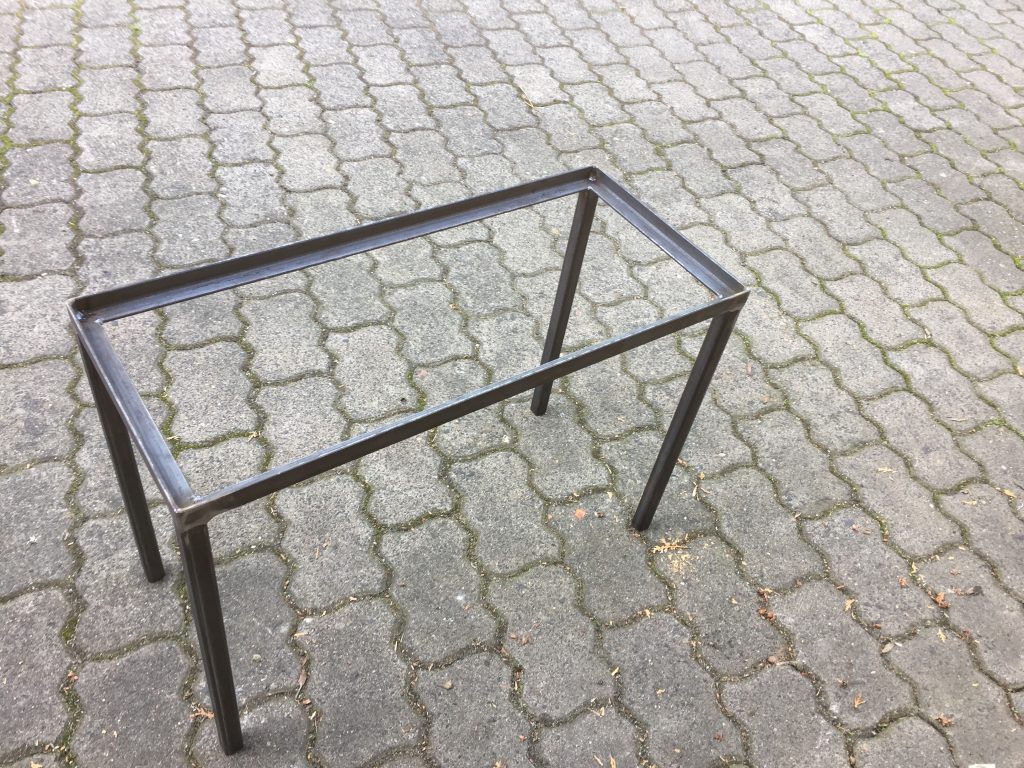
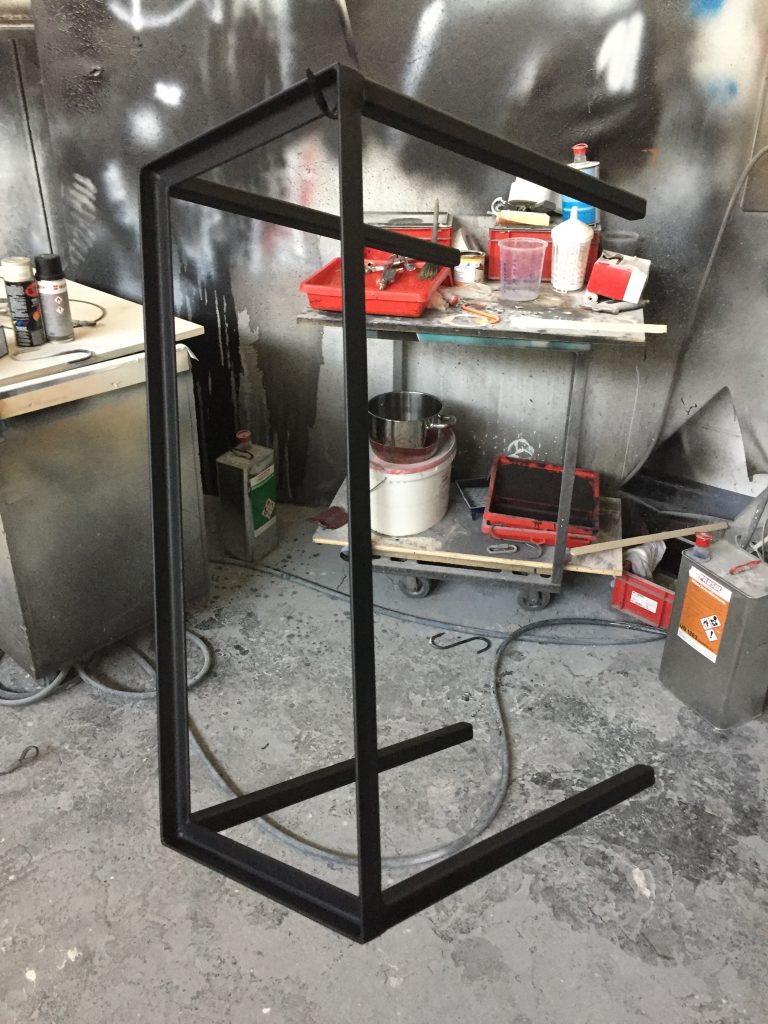
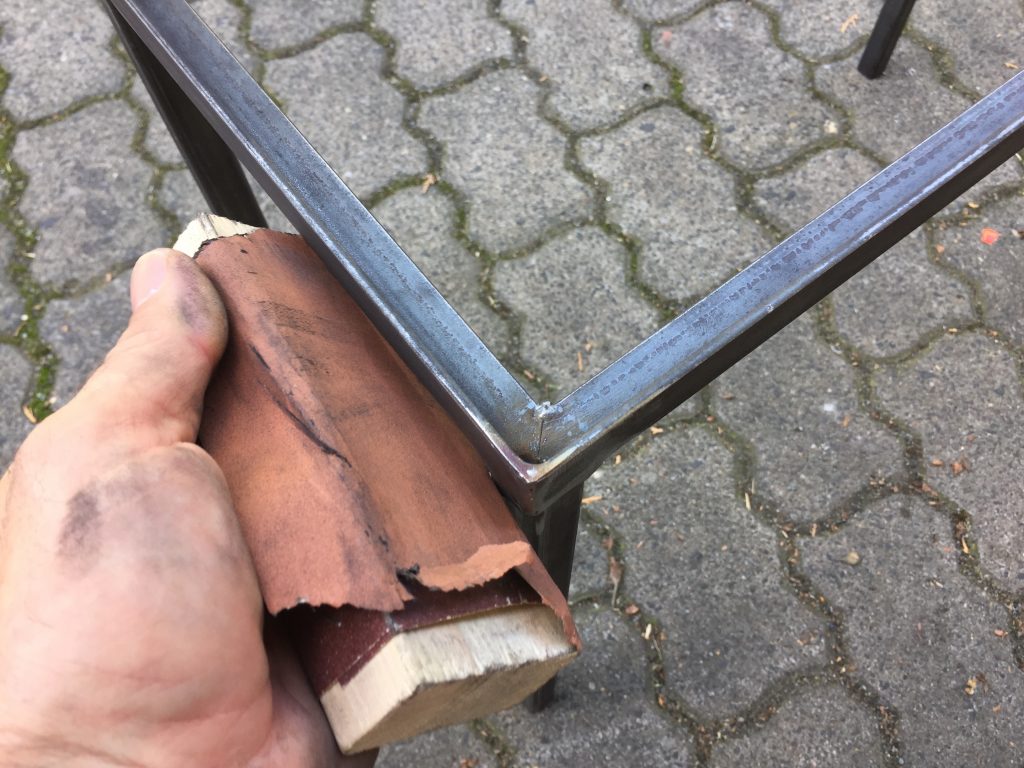
The guys at our metalworkshop helped me out, and cut and welded me the frame from old angles to hold the controller. Sanding it and rubbing it off with aceton afterwards, cleared most of the dirt, dents and scratches. The matt black finish did the rest. I put some velcro tape on along the inside of the frame to hold the controller tight and protect it from getting scratched.

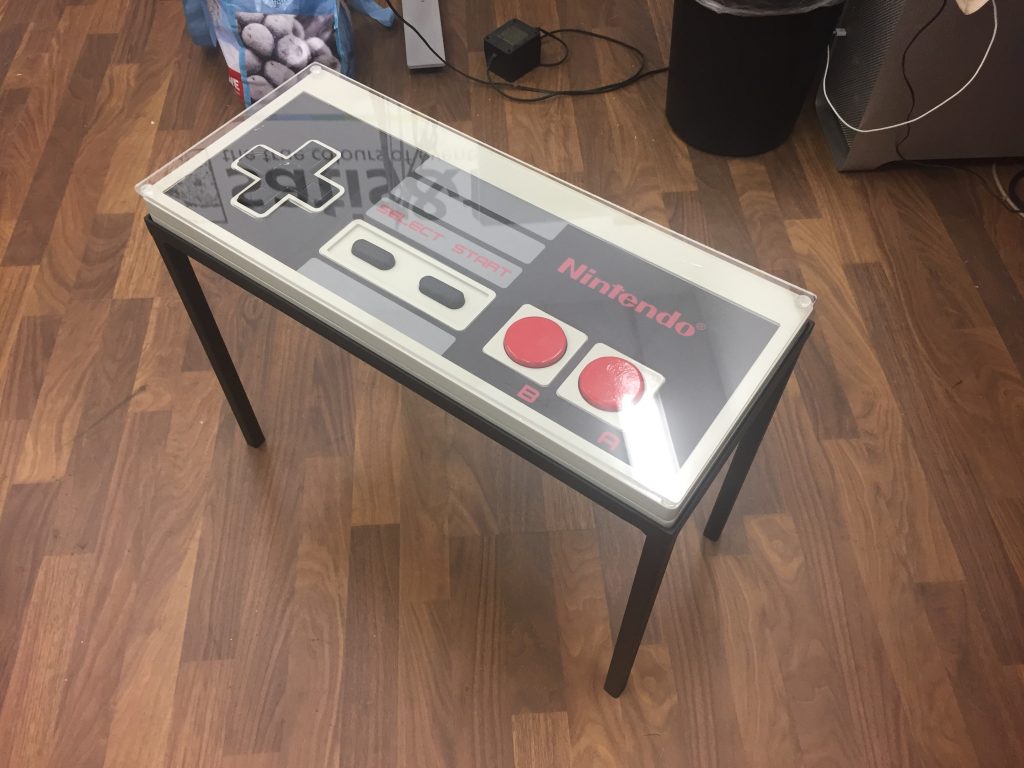
First test fitting test while printing the sticker… and tatataa… the almost finished NES coffee table.
Well… how much sense makes a table that is not even on the surface? Not much! I cut a peace of acrylic glas, sanded off the edges to fit the those of the controller and put some rubber feat on the backside… looks nice, but it is not very stable… but okay for now.
I tend to screw up things if I work too long on them and this project was no exception: the clear coating hadn’t dried completely, when I was working on the bottom side and the paint came of sticking to the underground! Big hole in the paintlayers, that I did not sand down enough and as if this was not enough, I took the RAL colour, instead of the clear coating and applied it on some parts, on top of the aleardy applied clear layer… well… Foxtrott – Uniform – Charly – Kilo! So there is a lot of sanding and re-painting waiting for me, but not now. Have to find a way to make the acrylic stay on top first.