Never been so crisp and bright – Gameboy LCD IPS v3
There have been a lot of people tinkering with Nintendo Gameboys and many upgrades and improvements have been added to the poor old LC display which was already old stuff when it was released in 1989.
Somehow I alway had a soft spot for the Gameboy but never really collected them – too many models, too many colors and far too many add-ons. Nevertheless I somehow managed to get a whole drawer full of them, Carts and other neat things over the years and a few even got modded display backlights in varying colors. Thanks to Bullbeisser who modded them for me at HomeCon. This did enhance the visibility a little bit, but was more a “cool” looking gadget then an improvement.. Contrast is still as bad, as it ever was and one even seem to have the polarizing filter installed at the wrong angle, hence you can almost see nothing.
I had a little chat with Senad from Retrokram and he pointed me to the fabulous GB Dev Studio and I was hooked right away, started tinkering with this engine and wanted to create my own little cart. Often, when you start at one end of something new you wind up at a different portion of the whole thing. I fixed a few of my gameboys that had minor issues like rotten battery contacts, rusty headphone jacks and eventually ended ordering a an all new LCD IPS v3 display replacement.
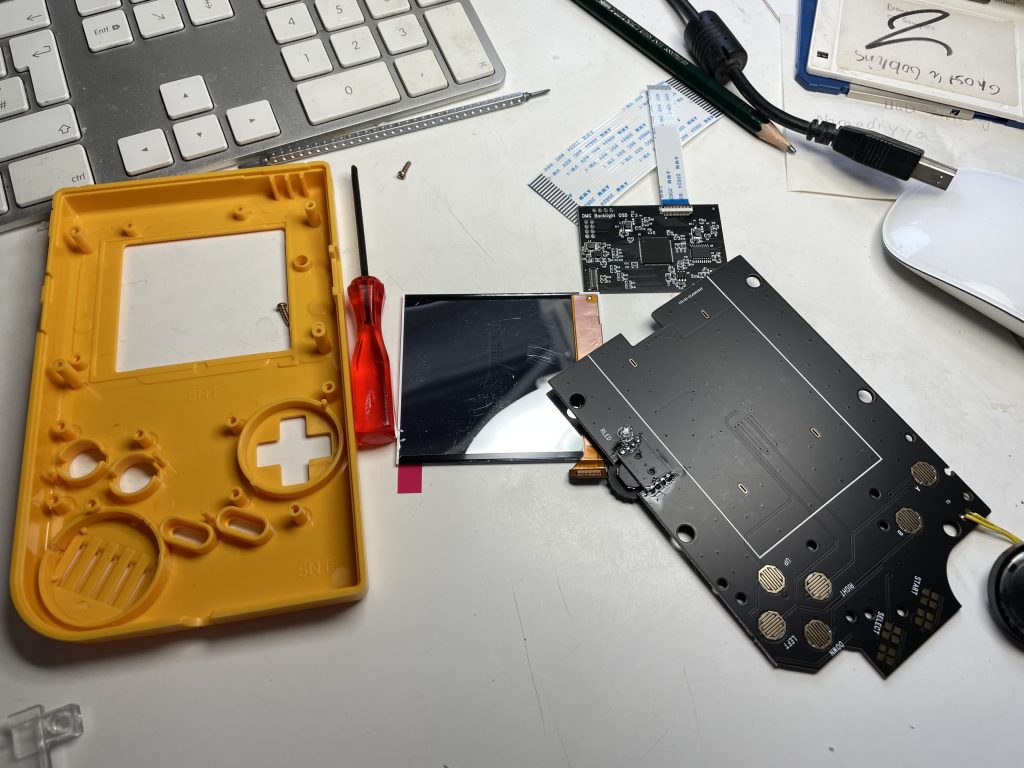
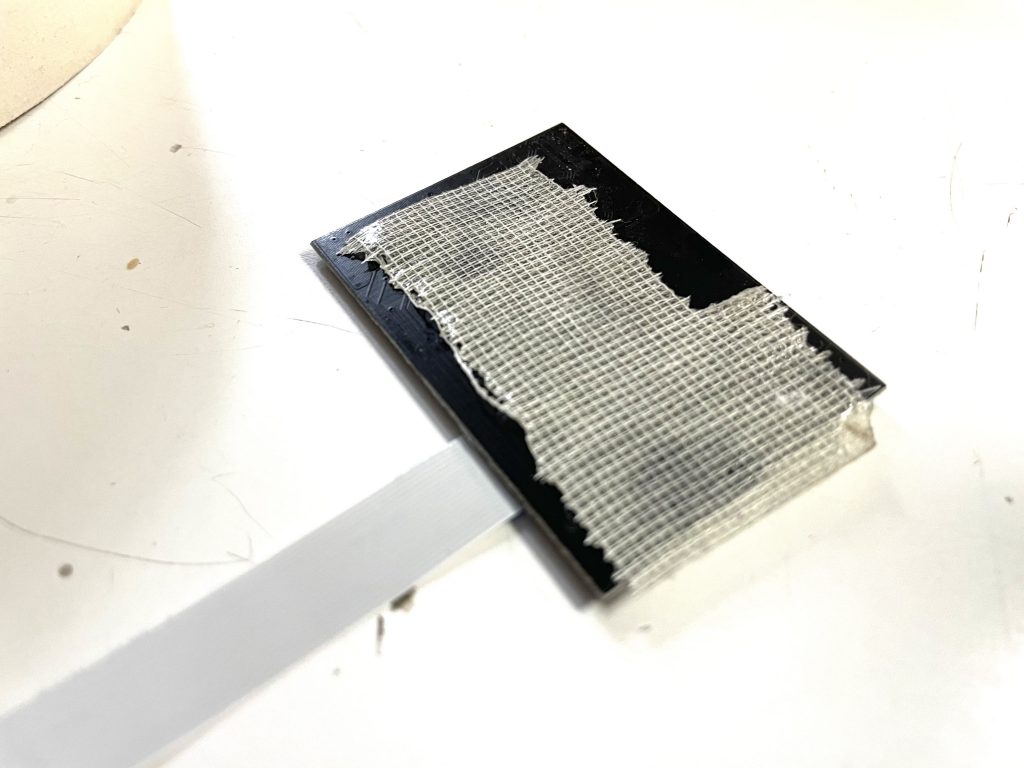
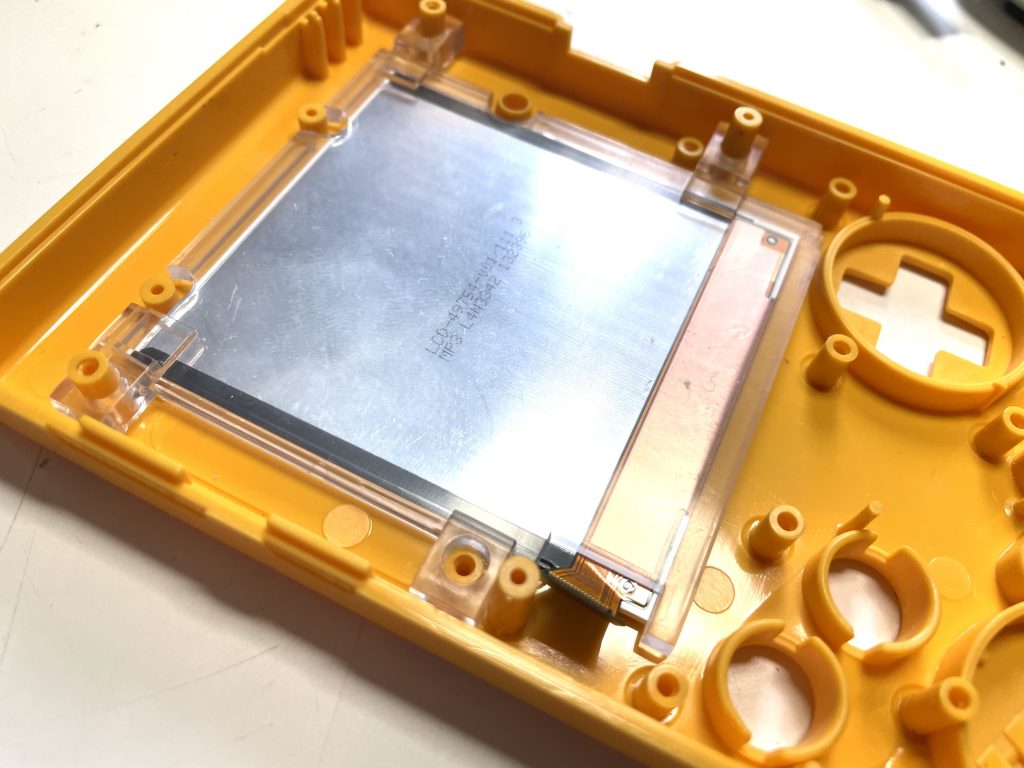
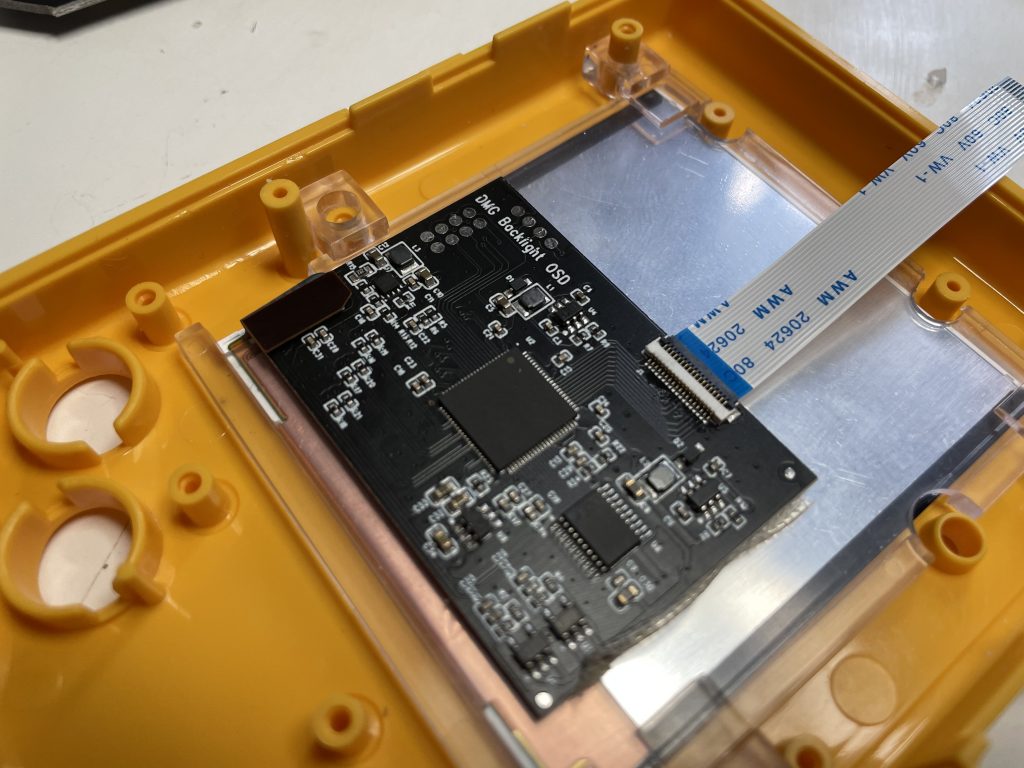
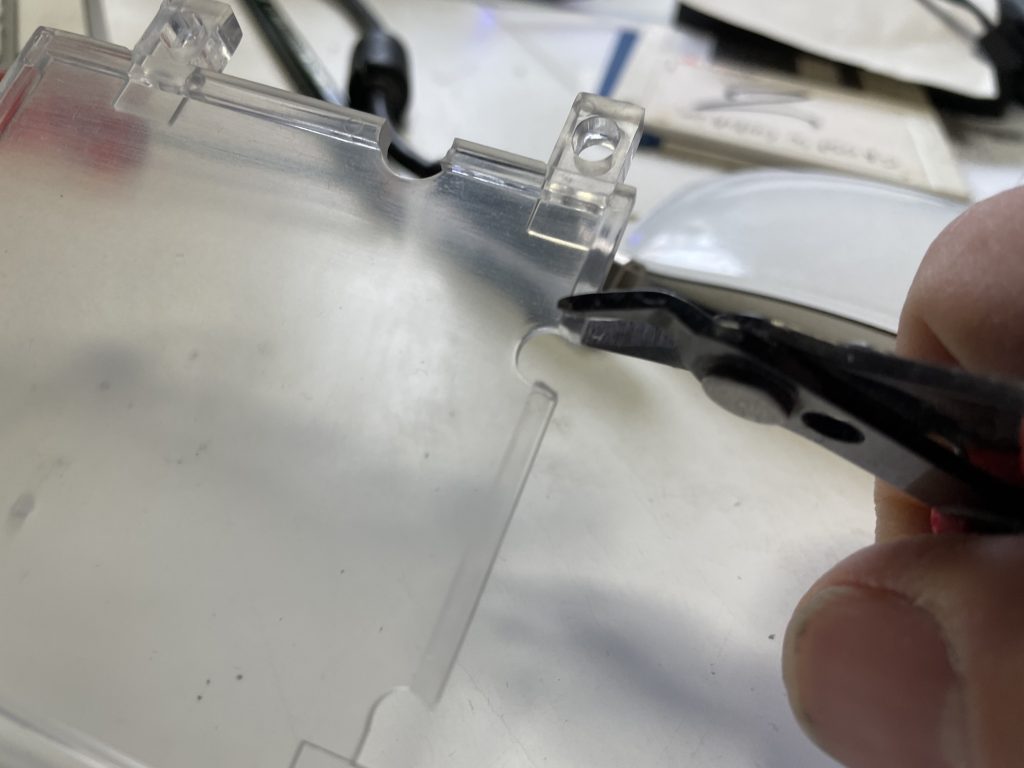
The whole package consists of a brand new display with a separate small driver board and a complete front-PCB replacement (the one where the original buttons and the old LCD was mounted). It even came with a screen mount, that made placing the new screen a no-brainer, although I had to widen one of the wholes as it did not fit. Simply cutting away some plastic a the top of the hole, did the trick.
The whole process, of taking the Gameboy apart an putting in the new display took no longer then 20 minutes.
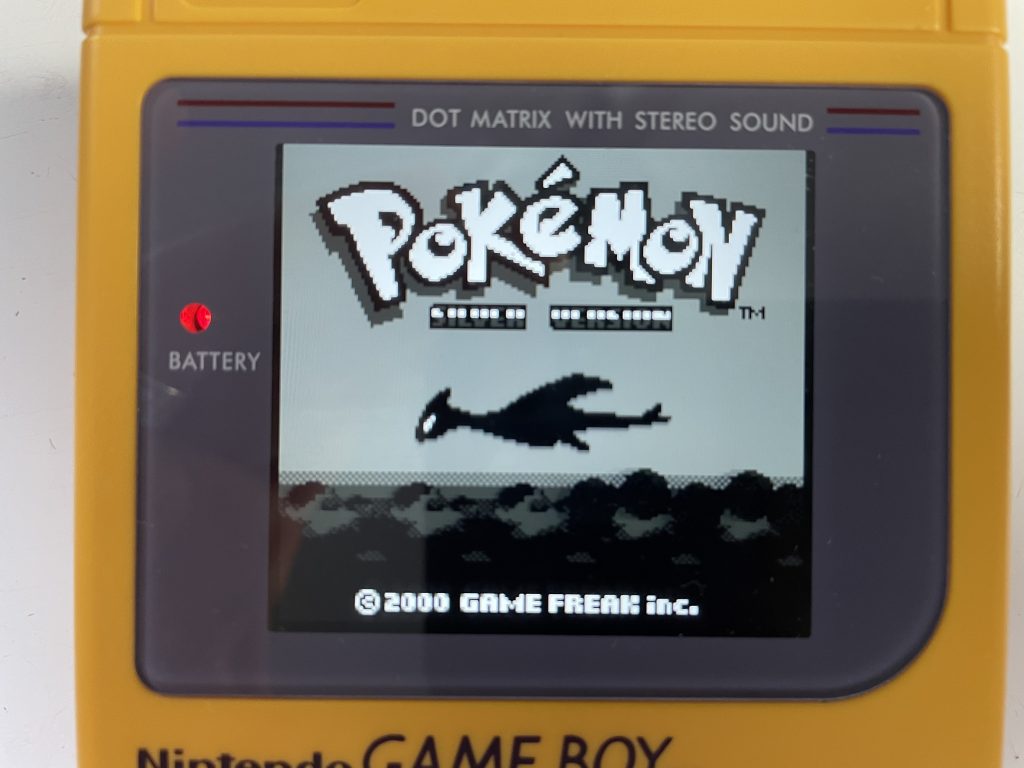
I was a little bit frustrated, when I got the whole thing back together and turned it on. The screen was not centered at all, leaving me with black borders to the right and at the bottom. Reseating the display still left me with a border at the bottom, vursing loud about the typical china quality!
Then I found the solution: you have to press the contrast dial and hold it a couple seconds and you get a OSD that allows you to move the display pixelwise in all direction. 😉
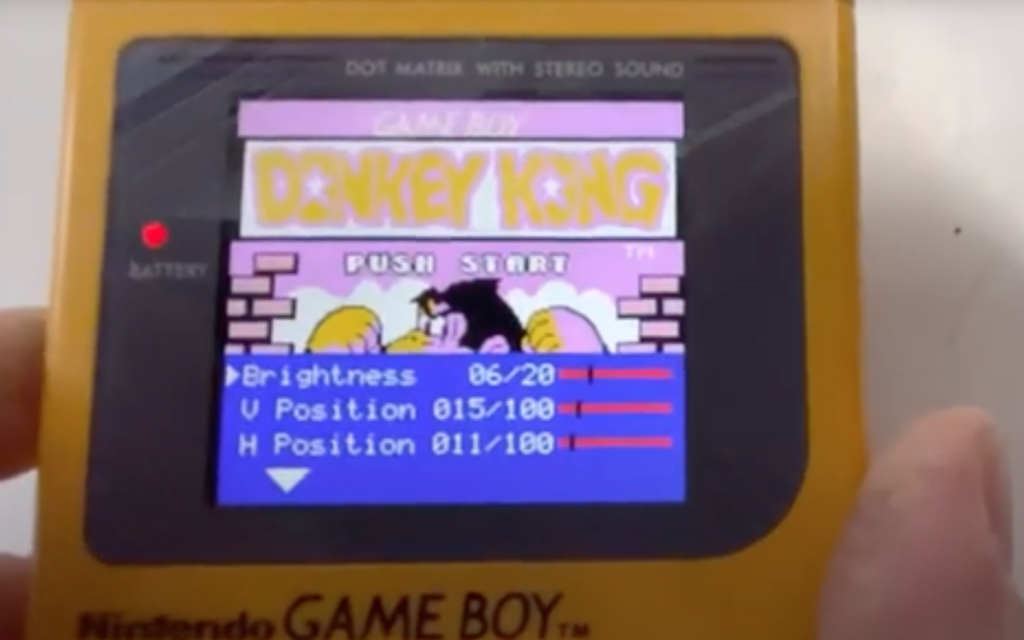
Further you can enable pixel filters that make the display even look more like a sharp and bright rendition of the original.
A short press will change the colors to a range of presets, while turning the dial will increase or decrease the brigthness, just like on the original.
I bought a new after-market shell as well (who could resist a brand new case for $10?) and am so happy now how this turned out. The display completely blew me away and still does. This very gameboy is sitting on my table now, as it is so sexy, so clean and lean…. perhaps this will inspire me to get back to the GB dev studio and continue with the game?