SIO2SD arduino based – thanks Diskwiz
Sooo.. finally, after a couple of month of very slow and only sporadic time spent on this project, my SIO2SD is finally up and running. Big thanks to Diskwiz for all the support with my noob questions and for making this device in the first place. I just sneaked away from Marie and told Nadine that I would like to finish this thing to get it off my back and play with my Atari 800. There where only the buttons missing and so I screwed all parts down on piece of Forex (gator board) an duck taped the display to on it, to make it easier to move the whole thing around and soldered the four buttons to the arduino. I am really happy that it worked right from the start, as I still was a little bit worried that I might have hooked up some wires incorrectly. But, no! I works perfect. So far most of the games run and the few that didn’t I will have to check the disk images and play around with the settings – I guess.
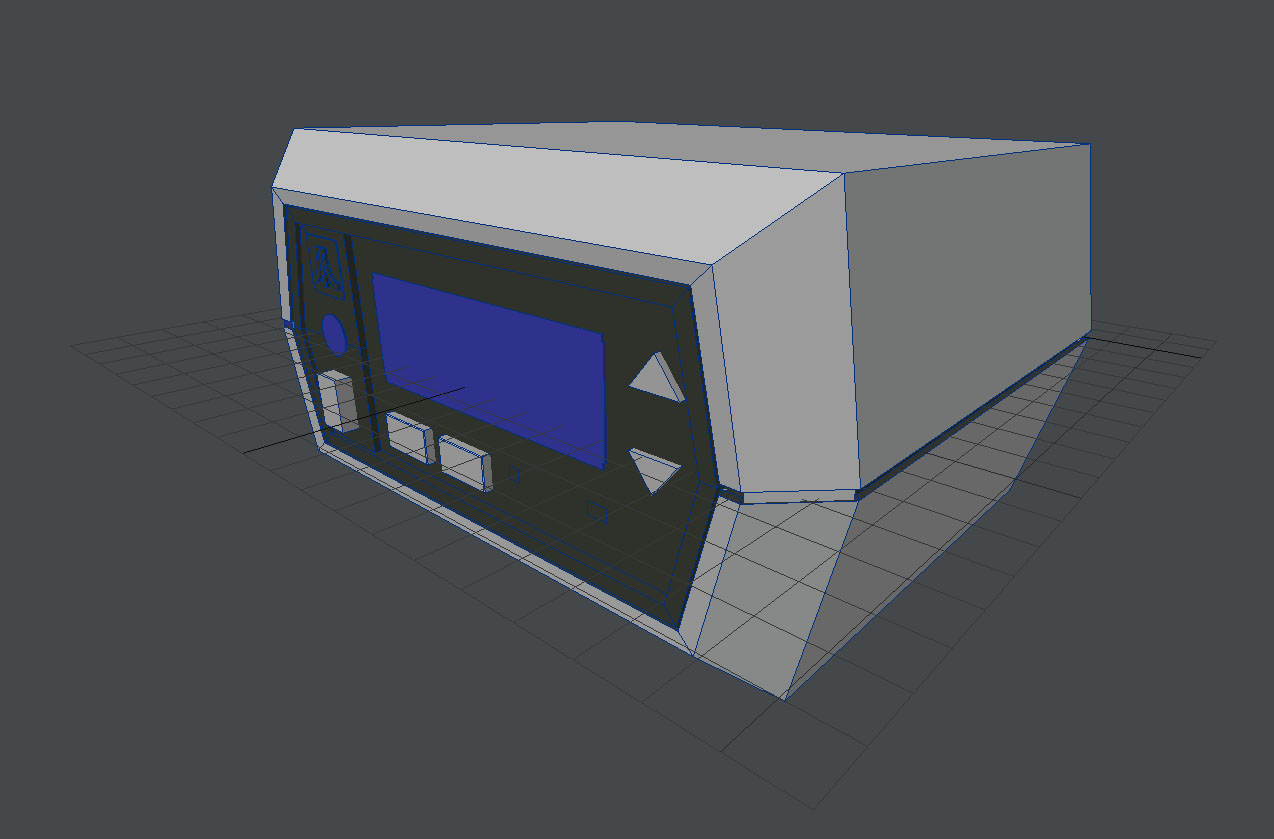
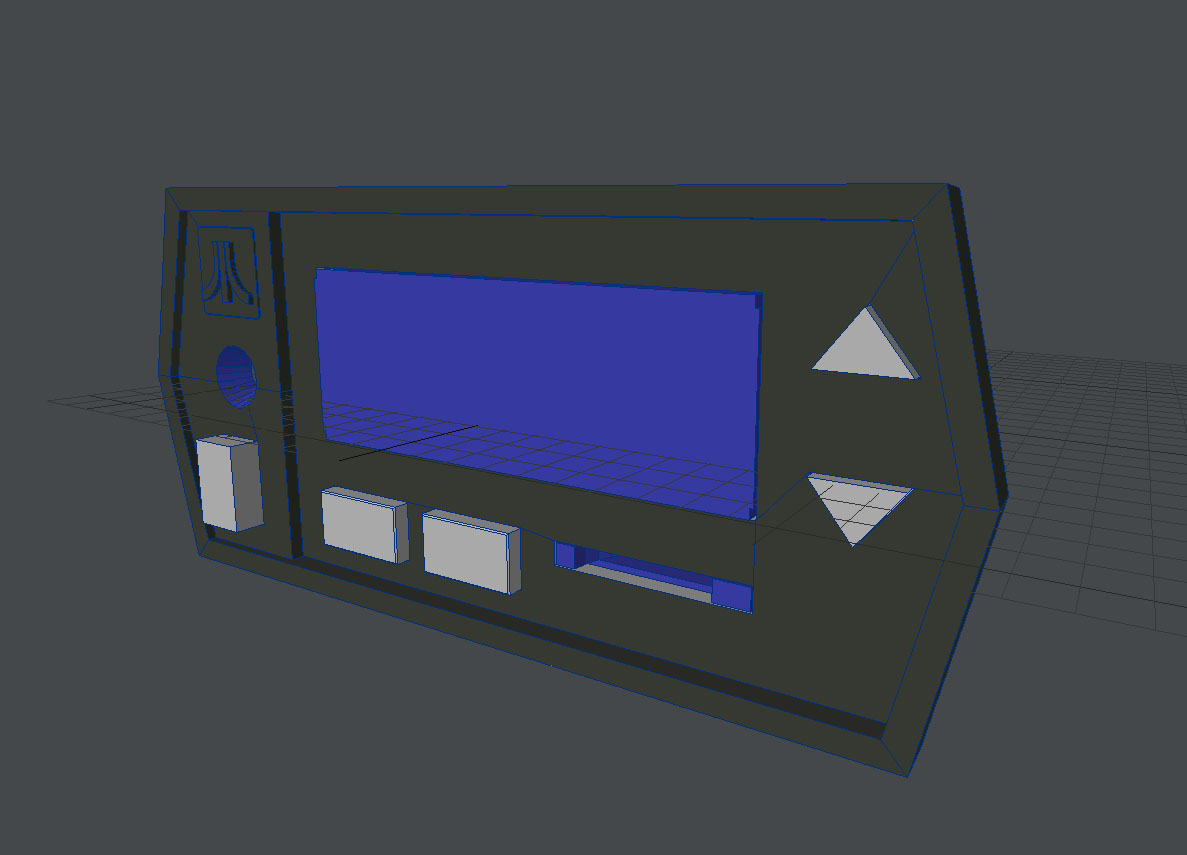
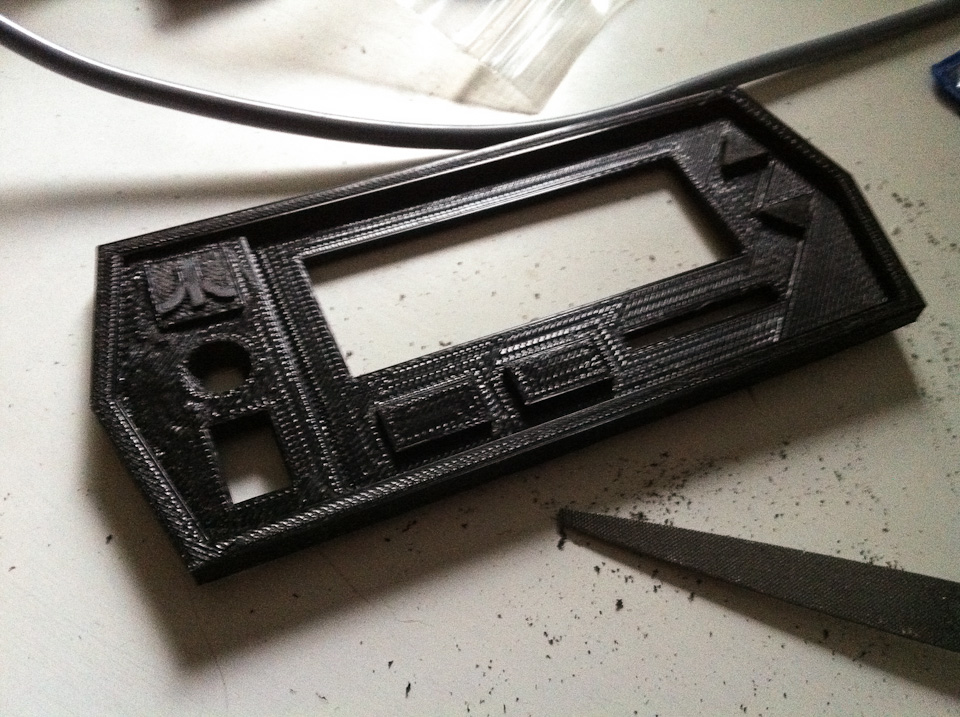
While I was waiting for Draco to flash the ATMega for me (big thanks for that), I started thinking about a case to put it in. There was a guy that did a tiny Atari 810 disk drive, just the size that a micro SD Card would fit in. I liked the idea but as the SDI2SD comes with a handy display I had to go for a bigger version. The company I work for recently acquired a Makerbot and so I started to design something that resembles the look of the original Atari 810 disk drive. Using Lightwave (my good old Lightwave) it was not as easy as it might have been with a real construction tool. Luckily over at chromecow there are some STL Im-/Exporter scripts for LW. Tutorials on youtube where a big help.
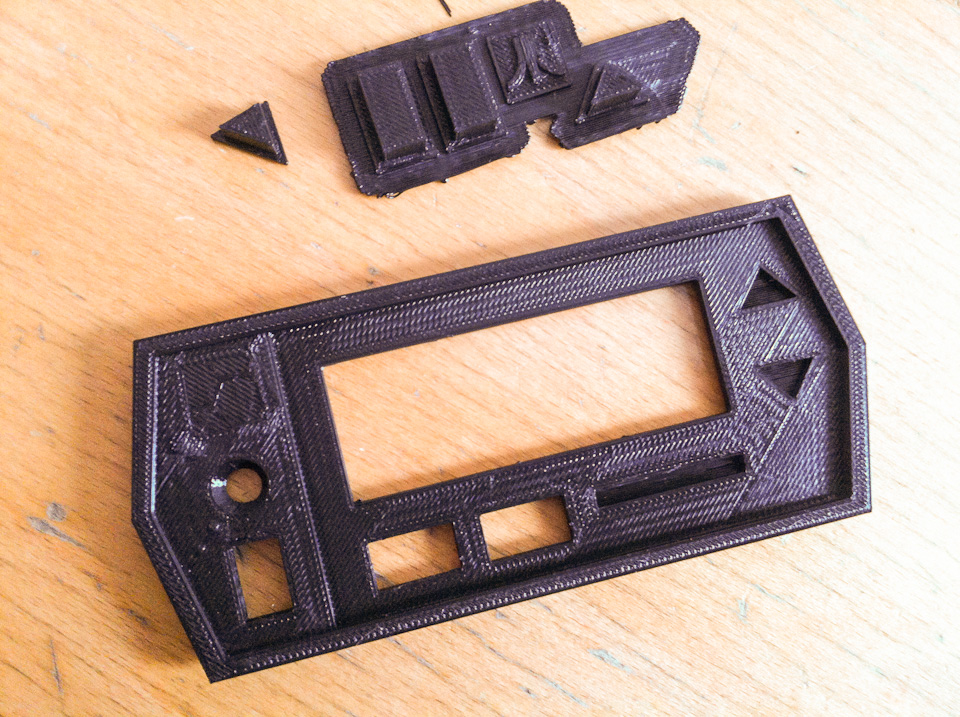
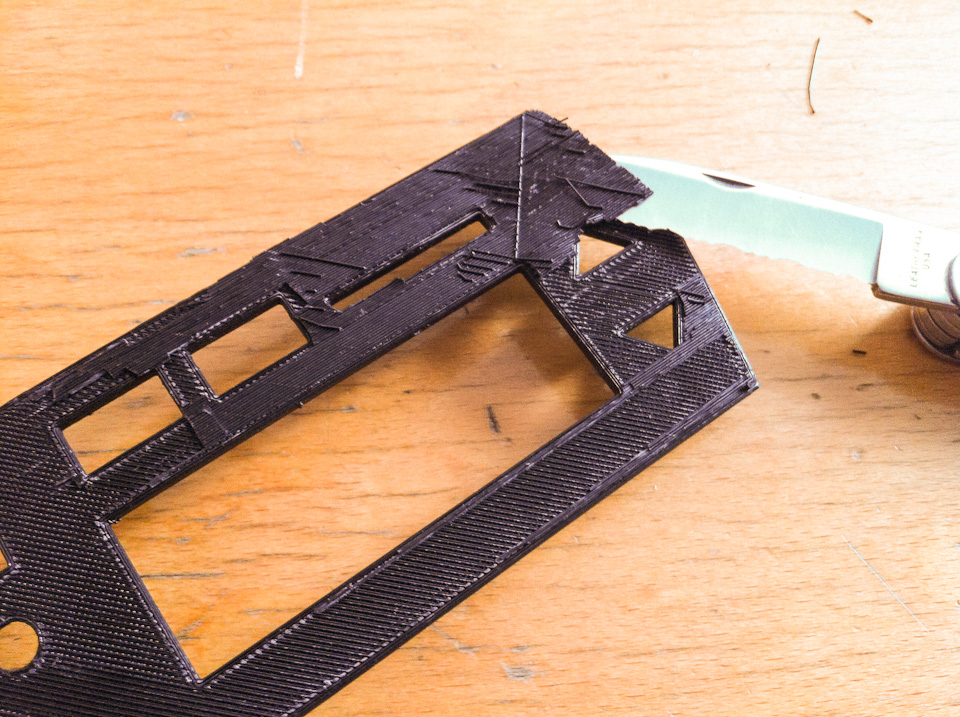
The final print got delayed a bit, as the Makerbot was not working correctly. The outcome is quite nice, although the surfaces are very rough right now. I found a tutorial on how to clean out those marks, using acetone … this will be the next step. I don’t know when I will find the time for this. Most likely I will have to clean out the basement first and install some workbench for working with those chemicals – guess they are not good for a baby.
So here are some shots and short video of the actual SIO2SD on the first run.

I am glad to see you got it working. Thank you for the kind words and for sharing your progress. I love the case idea. A non-LCD version of this could be made too. 🙂 Boot with an sdrive image and play around with that when you have time.
Let me know if you find any bugs.
Don
Yeah… now I would need some holiday in oder to play around with it. Leaving the LCD out of this would not be the same. I guess I just don’t need to install one in the first place and just put it into game mode, but that would spoil the fun of having 4 drives on SD card. 😉 Anyway, is there a way that longer filenames could be displayed properly. I got a big archive of software here, with really good names and 8.3 chars is a little too few to use it. I know, scrolling on the LCDs is not really great and hard to read and probably it would need NTSF Fileformat support implemented. But it would definably be a nice feature.