My Minicade
![]() Last year I spent some time and money in order to build a new arcade table. I had huge plans: four players, each one with trackball, spinner, 6 buttons and an 8-way stick. Instead of a PC, I was looking for something easier to setup. I had quite alot of trouble with real arcade monitors and pc in the past. In the long run, I ended up with a ready configured PC, a lot of input devices (four red LED-lit trackballs) and no idea how to fit it all into a table with a reasonable size. Needless to say, that the xbox with mameo-x and Vice was also in my stock. In the end I dropped the project, pretty frustrated and went back to photography and webdesign.
Last year I spent some time and money in order to build a new arcade table. I had huge plans: four players, each one with trackball, spinner, 6 buttons and an 8-way stick. Instead of a PC, I was looking for something easier to setup. I had quite alot of trouble with real arcade monitors and pc in the past. In the long run, I ended up with a ready configured PC, a lot of input devices (four red LED-lit trackballs) and no idea how to fit it all into a table with a reasonable size. Needless to say, that the xbox with mameo-x and Vice was also in my stock. In the end I dropped the project, pretty frustrated and went back to photography and webdesign.
Recently a friend of mine was interested in buying one of our two Zaccaria cabs that we keep at work. I started to look for some parts that he might need and instantly got hooked again. Browsing arcade forums, I was flashed by the two minicades chris99 had build under observation from the people at arcadezentrum.com.
 The very next day, I started to plan my Minicade. Instead of the 10″ VGA-Screens, I went for Commodore 1084 (the one thats up, there, in my banner), and the PC was replaced by M$ Xbox. For the controls, I got a 4in1 arcadestick, that carries plugs for xbox, playstation and standart usb. I took chris99 plan as basis and twiddeled around till all fit in – virtually, off course.
Last wendsday I went to our joiner’s workshop at stais&fy (the company I work for) and found a suitable MDF (medium density fibreboard) that I got for little money and they even cut out the parts that I had layed out (thanks Trögi). Best part about it: It’s already grounded with a special soil, ready to print or paint on.
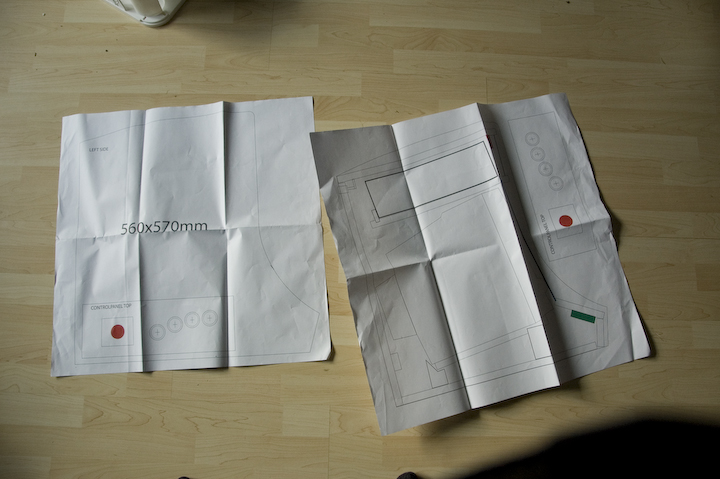
Today was the day: I first transfered the sidepanel form to the MDF-board, usig a smooth pencil. I hatched the oulind of the back of my plan that I head plotet at 100%, taped it on top of the board and used a sharp pencil to tranfer (rub trhough) the ouline.
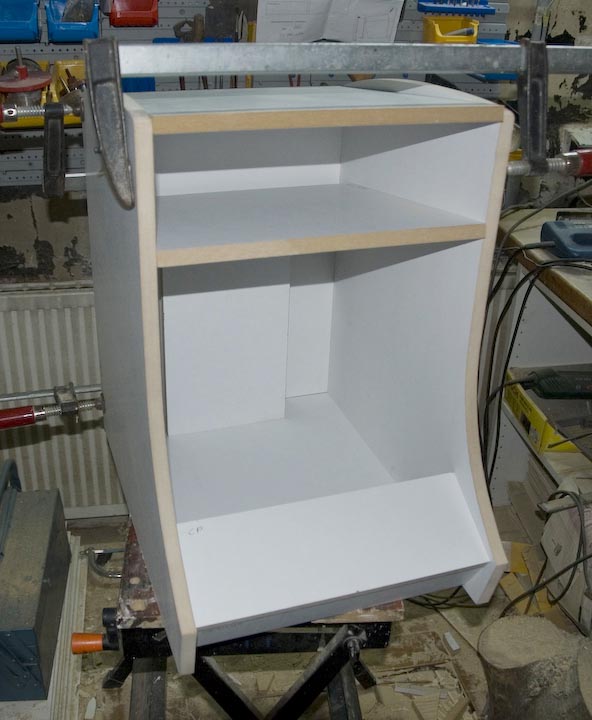
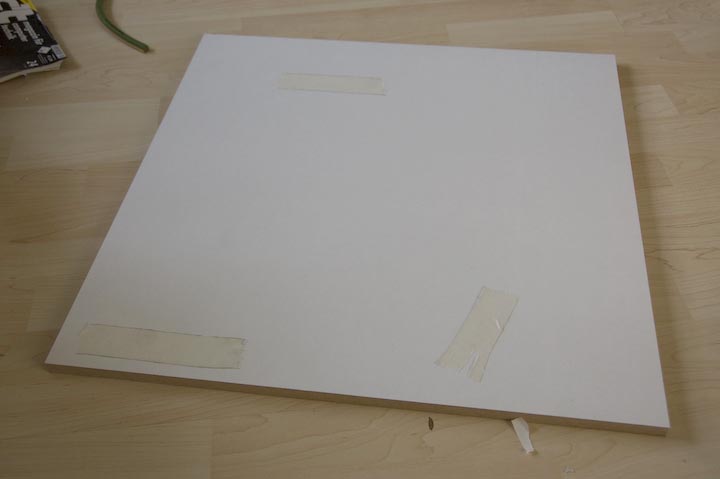 Than I taped the two sides together with some double-faced scotsh tape and used some additional clamps to make it firmly stick together, sure that it won’t shift when sawing both boards on one go.
Sanding was also done on the double assuring that both sides are shaped alike. It turned out that after I removed the clamps again I had big trouble to get the two sides apart – the tape was so strong I had to use a big metal ruler to get the job done.
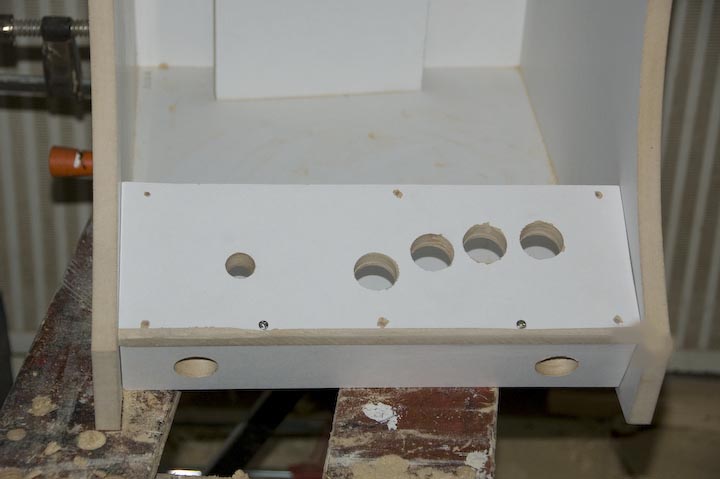
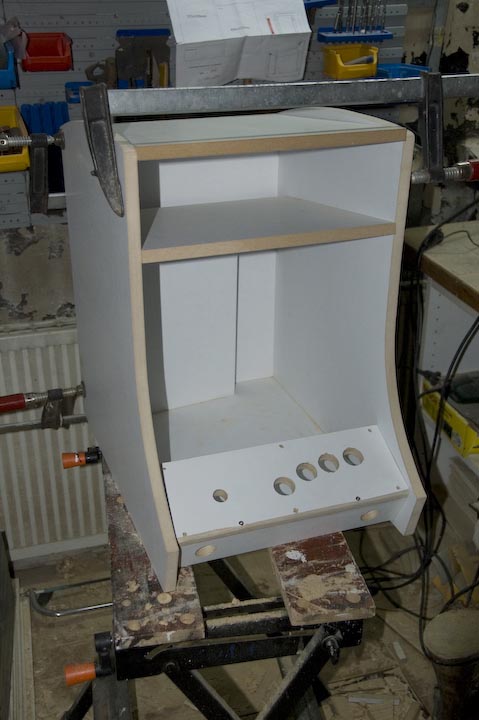
From some spare parts, I cut out two board for the CP, keeping the ones from the workshop for the final version. I don’t know whether 4 buttons are enough or if I should fit in all 8. I also found a tiny mouse which includes a smalish trackball… mhhh… maybe I should go with less buttons and stuff a trackball in.
I think, I dawdle to the nearby hardware store and get some plexiglass for marquee and brezel.
Anyway, here are some pictures that show the step of today.